xARM6
xARM6-Guide
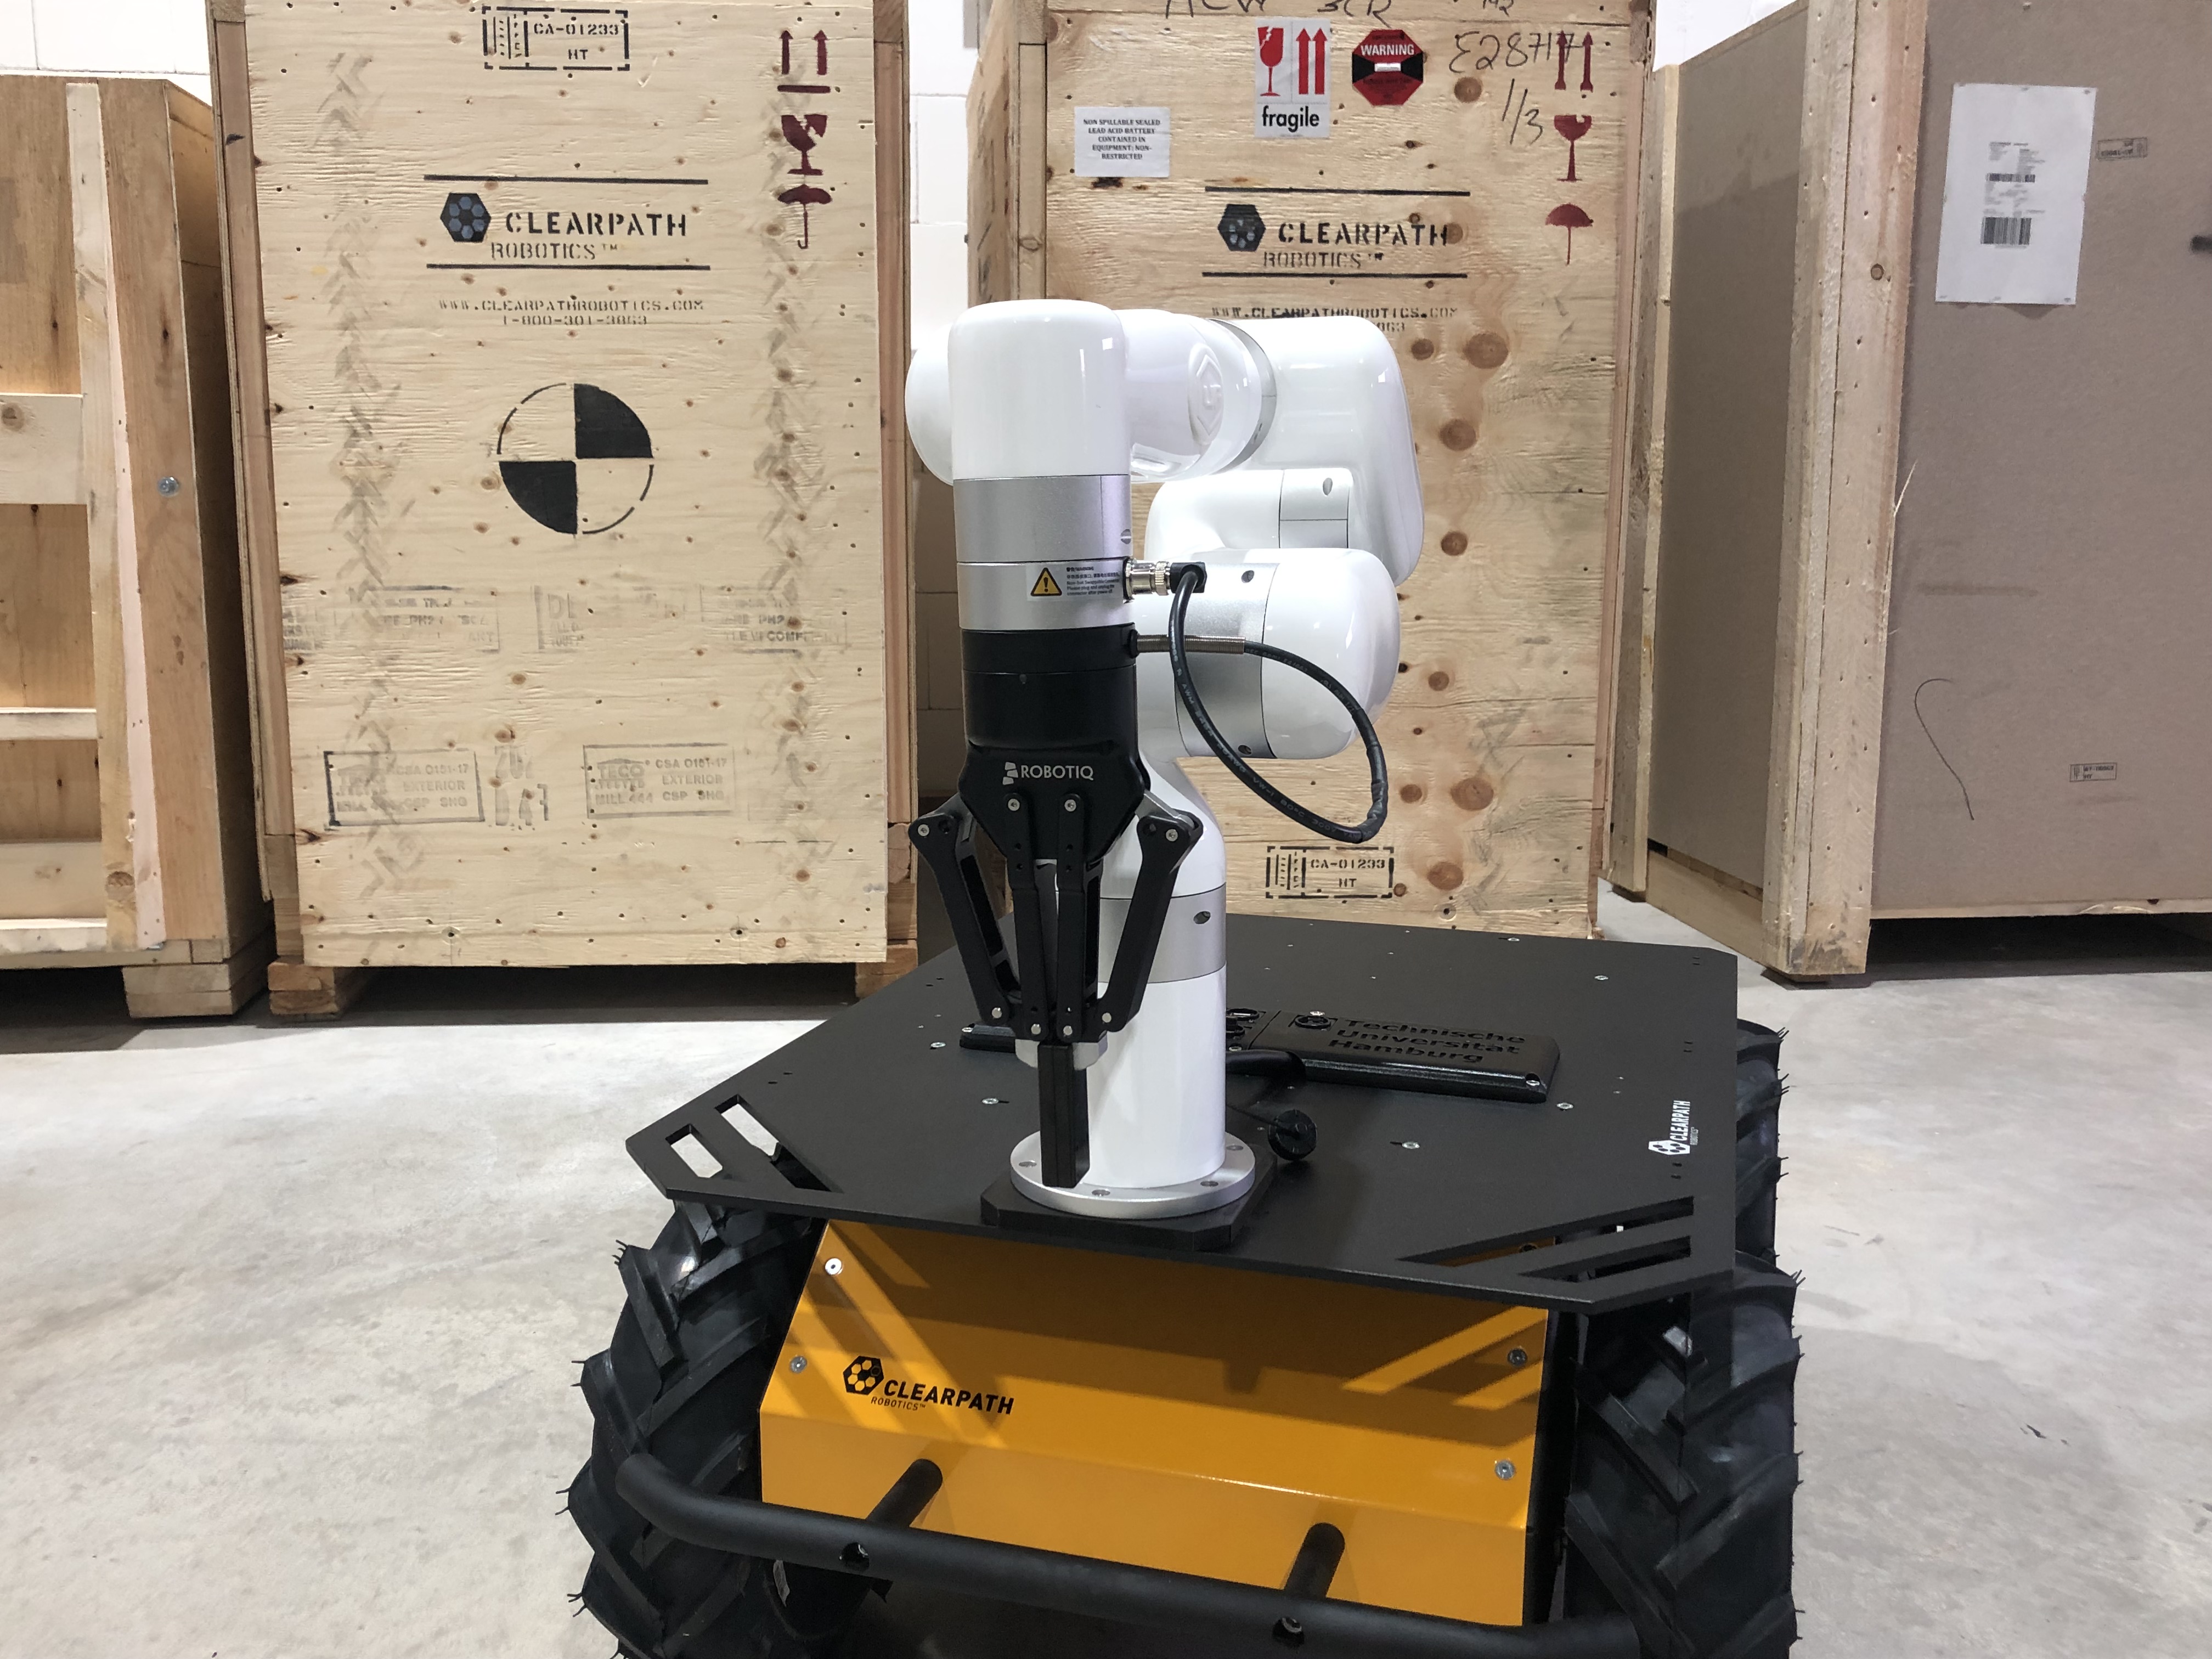
xARM6 integrated into Husky with a Robotiq 2f-140 gripper
Note
As the Husky-xARM6-Robotiq is a multi-robot system consisting of xARM6 and robotiq gripper, hence, the xARM6 tutorials, xARM6 user manual , xARM6 developer manual and the Robotiq 2f-140 manual are applicable.
To power-on the xARM6 please follow the Start-up section.
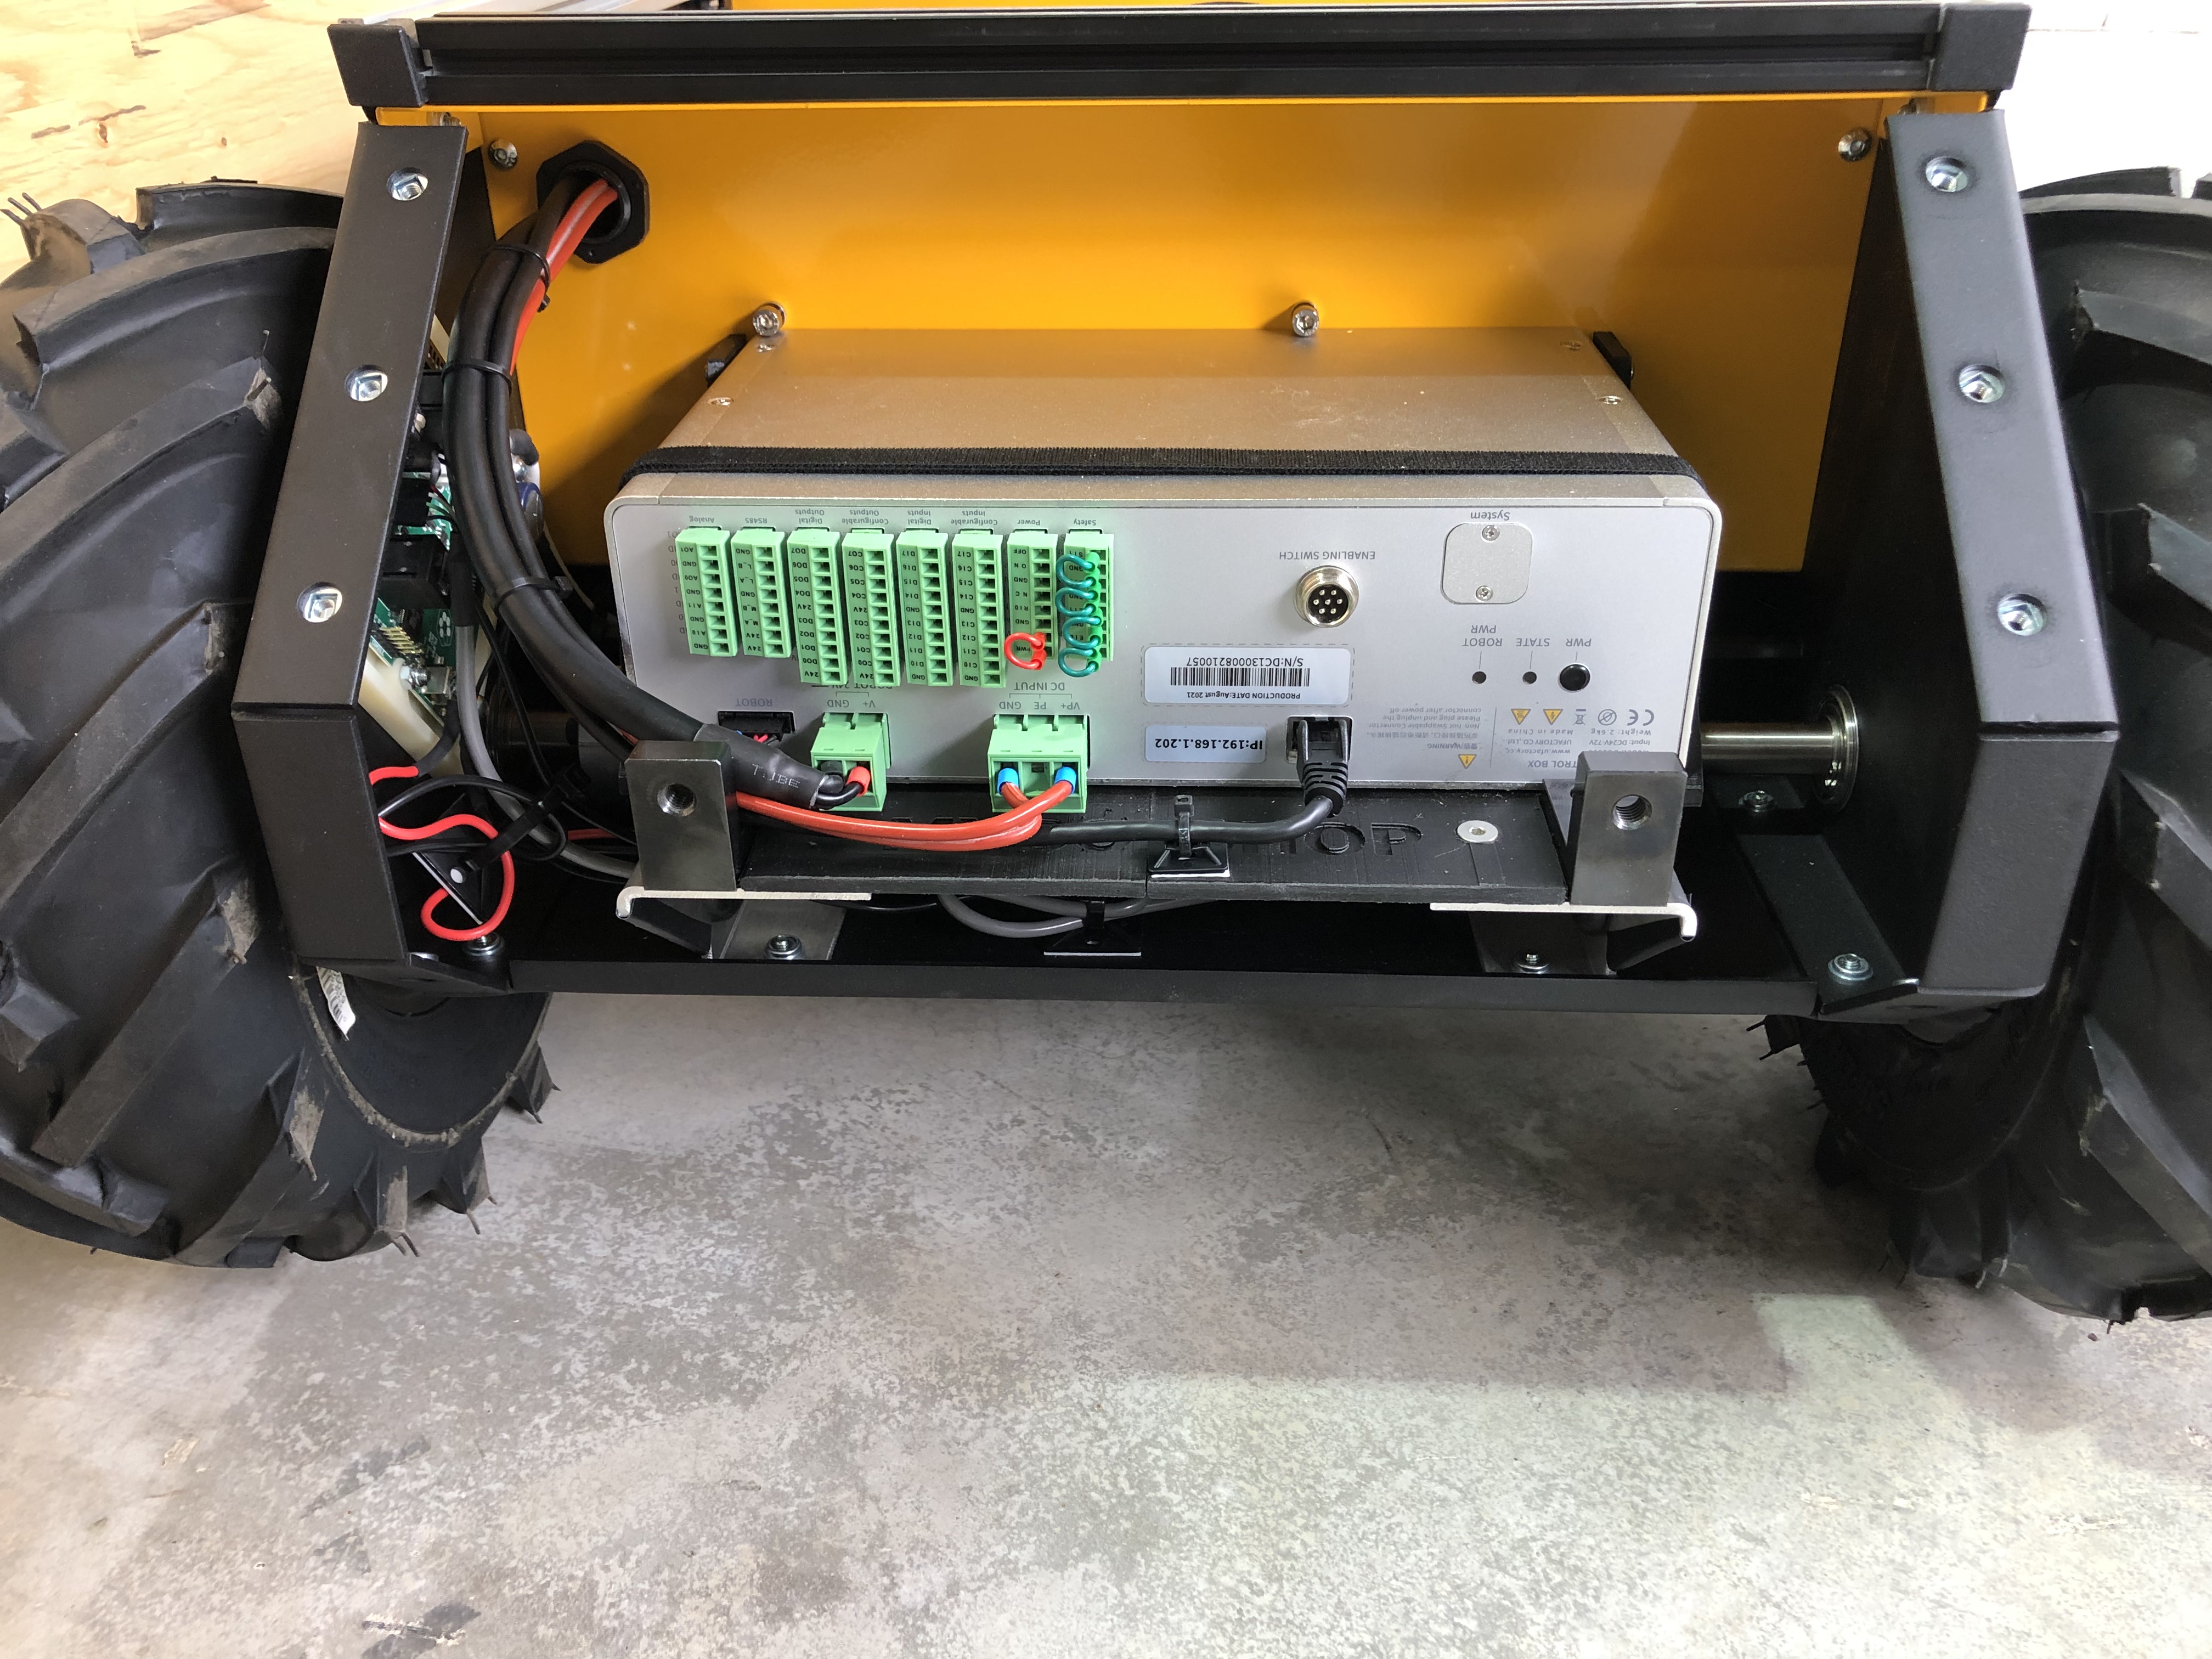
xARM6 DC Control Box
The control box for the xARM6 is mounted in rear compartment of the Husky.
xARM6-ROS
For the xARM6 ROS drivers please refer to the MBS xARM Robotiq section.
xARM6-Utilities
To operate the xARM6 from other means then ROS, the python and c++ sdks are available in the utils folder in the provided package.
Moreover, direct control of the xARM6 is available via the app. To access the app, navigate into the /utils/app folder and
run the command:
./xArmStudio-linux-0.6.0.AppImage
This should launch the xARM6. Connect to the IP address of 192.168.132.1 and you should have now complete access to the arm.
Also the app has a built-in plugin to interface with robotiq gripper available in the control panels.
Important
The app can also be accessed via ssh.
ssh -X administrator@192.168.131.1
clearpath
cd
cd catkin_ws/utils/app
./xArmStudio-linux-0.6.0.AppImage
Robotiq Gripper 2f-140
Robotiq Gripper 2f-140
Attention
The robotiq gripper does all communication via the xARM6. Hence, the xARM6 must be powered on for the gripper to work.
Robotiq Gripper 2f-140 ROS
For the robotiq ROS drivers please refer to the MBS xARM Robotiq section.