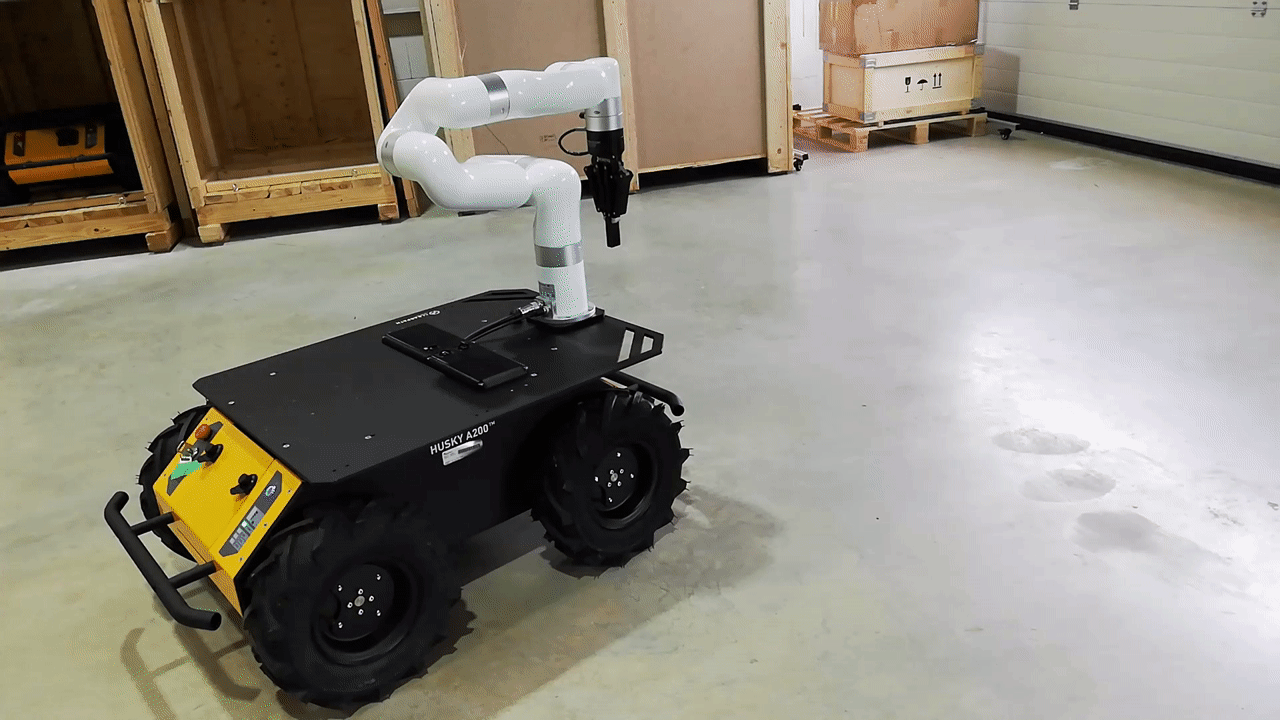
Husky
Note
As the MYBOTSHOP Husky-xARM6-Robotiq is a multi-robot system consisting of Clearpath’s Husky, hence,
the guide provided by Clearpath for Husky Navigation is applicable. For ease of view, the guide
is available below as well.
Below are the example launch files for three different configurations for navigating Husky:
If you’re working with a real Husky, it’s suggested to connect via SSH and launch the roswiki husky_navigation
launchfiles from on board the robot. You’ll need to have bidirectional communication with the robot’s
roscore in order to launch roswiki rviz on your workstation.
Important
It should be noted that without any auxiliary components such as a camera or lidar, the robot will not be able
to perform obstacle avoidance or mapping.
Navigation Without a Map
In the odometry navigation demo Husky attempts to reach a given goal in the world within a user-specified
tolerance. The 2D navigation, generated by move_base, takes in information from odometry, laser scanner, and a
goal pose and outputs safe velocity commands. In this demo the configuration of move_base is set for navigation
without a map in an odometric frame (that is, without reference to a map).
To get all Navigation related files for Husky, run:
sudo apt-get install ros-noetic-husky-navigation
To launch the navigation demo, run:
roslaunch husky_navigation odom_navigation_demo.launch
To visualize with the suggested rviz configuration launch:
roslaunch mbs_viz viz.launch
Note
Add the topic of /points to visualize the point clouds as well.
To send goals to the robot, select the 2D Nav Goal tool from the top toolbar, and then click anywhere in the rviz
view to set the position. Alternatively, click and drag slightly to set the goal position and orientation.
If you wish to customize the parameters of move_base, local costmap, global costmap and base_local_planner, clone
roswiki husky_navigation into your own workspace and modify the corresponding files in the params subfolder.
Making a Map
In this demonstration, Husky generates a map using gmapping. Begin by launch the gmapping launch file on the robot:
roslaunch husky_navigation gmapping_demo.launch
And on your workstation, launch rviz with the suggested configuration:
roslaunch husky_viz view_robot.launch config:=gmapping
You must slowly drive Husky around to build the map. As obstacles come into view of the laser scanner, they will be
added to the map, which is shown in rviz. You can either drive manually using the interactive markers, or
semi-autonomously by sending navigation goals.
When you’re satisfied, you can save the produced map using map_saver:
rosrun map_server map_saver -f mymap
This will create a mymap.yaml and mymap.pgm file in your current directory.
Navigation With a Map
Using roswiki amcl, Husky is able to globally localize itself in a known map. AMCL takes in information
from odometry, laser scanner and an existing map and estimates the robot’s pose.
To start the AMCL demo:
roslaunch husky_navigation amcl_demo.launch [map_file:=/path/to/my/map.yaml]
If you don’t specify map_file, it defaults to an included pre-made map of the default “Husky Race”
environment which Husky’s simulator spawns in. If you’re using a real Husky in your own environment,
you’ll definitely want to override this with the map created using the gmapping demo.
Before navigating, you need to initialize the localization system by setting the pose of the robot in the map.
This can be done using 2D Pose Estimate in rviz or by setting the amcl initial_pose parameters. To visualize
with the suggested rviz configuration launch:
roslaunch husky_viz view_robot.launch config:=localization
When rviz appears, select the Set 2D Pose tool from the toolbar, and click on the map to indicate to the robot
approximately where it is.