Power-relay
Power-relay Status
When the robot starts, an Arduino starts.This Arduino controls a power relay via the main PC in the husky. A startup script starts the communication between the Arduino and the main PC in the husky. To check the status of this module, the following steps are to be performed:
Connecting to the robot via Ethernet as described:
ssh -X administrator@192.168.131.1
clearpath
Next, we can check the status of the power-relay node via:
sudo service mbs_husky status
Note
If the icon is green, it means that the packages have started without any issues. In the event of an error, you may restart this startup job via:
sudo service mbs_husky restart
To power-on the relay, run the command:
rostopic pub /pwr_relay std_msgs/Bool "data: true"
Note
An audible click can be heard of the switching relay.One ROS message needs to go through after
which you may cancel the publisher ctrl+c.
To power-off the relay, run the command:
rostopic pub /pwr_relay std_msgs/Bool "data: false"
Attention
The rostopic that subscribes to this is the /pwr_relay and it accepts Boolean messages std_msgs/Bool.
|
|
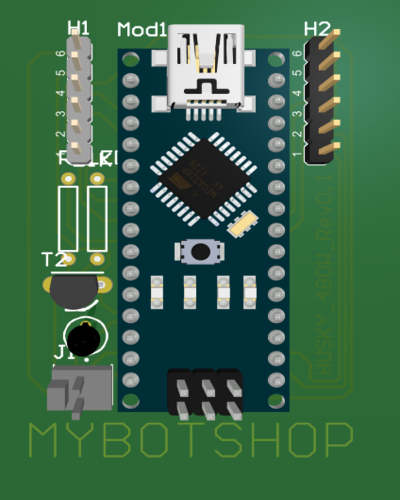
Arduino Nano |
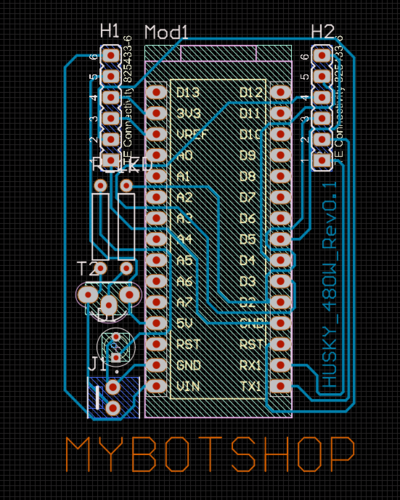
Arduino Nano Connections |
Power-relay Technical Specification
The Arduino is activating the 24V DC battery power on the XT60 connector.
A 20amps fuse ensures that the cables and the installed electronics are not damaged.
Furthermore, the voltage applied to the XT60 connector can vary depending on the battery
capacity, since no voltage converter or something similar is integrated.
The Arduino is connected to the /dev/ttyUSB0 port.
Warning
The Red/Black 2,5mm2 cable inside the Husky, which is
going to the 24V external power control box is always live
as the battery power is continuously supplied.
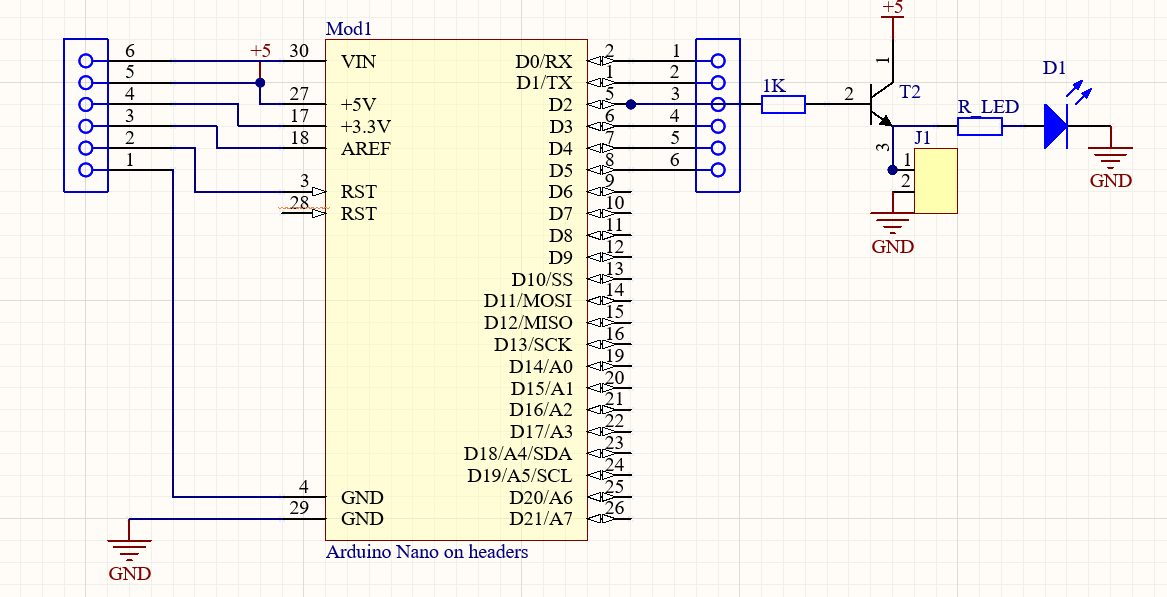
Power-board schematic