Pre-requisites
Before operating the ROVO2, ensure you have:
Read and understood the safety guidelines
Access to the robot’s network (wired or wireless)
A computer with ROS2 Jazzy installed (for visualization)
Robot App
The ROVO2 comes with pre-installed ROS2 software. The robot’s onboard computer runs Ubuntu 24.04 LTS with ROS2 Jazzy. Core drivers and services start automatically on boot via systemd services.
Robot Webserver
The ROVO2 features a web-based control interface accessible at:
URL: http://192.168.131.1:9000
Default Credentials:
Username:
adminPassword:
mybotshop
The webserver provides:
Real-time robot visualization (3D model)
Joystick teleoperation
Service management (start/stop ROS nodes)
Map visualization
Battery monitoring
Rosbag recording
VNC remote desktop access
Charging Robot
To charge the ROVO2:
Power off the robot
Connect the charger to the charging port
Monitor the charging status via the charger LED
Disconnect when fully charged
Emergency Stop
The ROVO2 is equipped with emergency stop buttons. When pressed:
All motor power is immediately cut
The robot enters a safe parking state
Services continue running but motion commands are ignored
To resume operation after emergency stop:
Clear the emergency condition
Release the emergency stop button
Reset the gear to neutral, then re-engage
Power On
To power on the ROVO2:
Ensure the emergency stop is released
Press the main power switch
Wait for the system to boot (approximately 30-60 seconds)
Verify status via the webserver or SSH
Power Off
To safely power off the ROVO2:
Set the gear to neutral (gear 0)
Stop all running applications
Press the main power switch to turn off
Basic Operation
Remote Control
The ROVO2 supports multiple teleoperation methods:
ROVO Controller - Dedicated hardware controller
Logitech Joystick - Requires deadman switch
Web Interface - Browser-based joystick control
Keyboard Teleop - ROS2 teleop_twist_keyboard
Network Interface
Network Table
IP Address |
Device |
Username |
Password |
|---|---|---|---|
192.168.131.1 |
Robot MCU |
robot |
mybotshop |
192.168.131.1:9000 |
Webserver |
admin |
mybotshop |
192.168.131.150 |
Steamdeck |
deck |
mybotshop |
192.168.131.200 |
Router |
SSID |
mybotshop |
192.168.131.200 |
Router-Web |
admin |
Admin1232025 |
192.168.131.20 |
Ouster Lidar |
x |
x |
Warning
Do not set your computer’s IP to any of the above reserved addresses.
Note
The robot login credentials are:
Username:
robotPassword:
mybotshop
Ethernet Connection
Power on the robot
Connect a LAN cable to the robot’s ethernet port (topmost port on demo units)
Configure your computer’s network settings
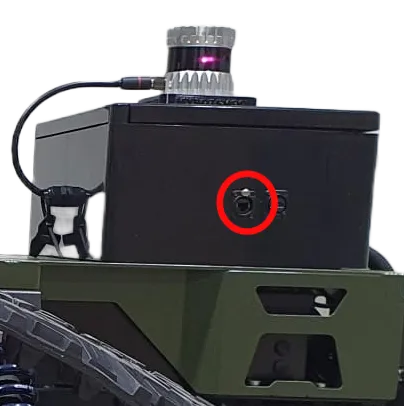
ROVO2 Ethernet Connection Port
Static Network Connection
For first-time connection, configure a static IP on your computer:
Go to Settings > Network > + (add new connection)
Select Manual in IPv4 settings
Set the following:
Address:
192.168.131.51Netmask:
24
Save and restart your network
Verify the connection:
# Check your local IP
ifconfig

# Ping the robot
ping 192.168.131.1

# SSH into the robot
ssh -X robot@192.168.131.1
Password: mybotshop