MMP Husky FH
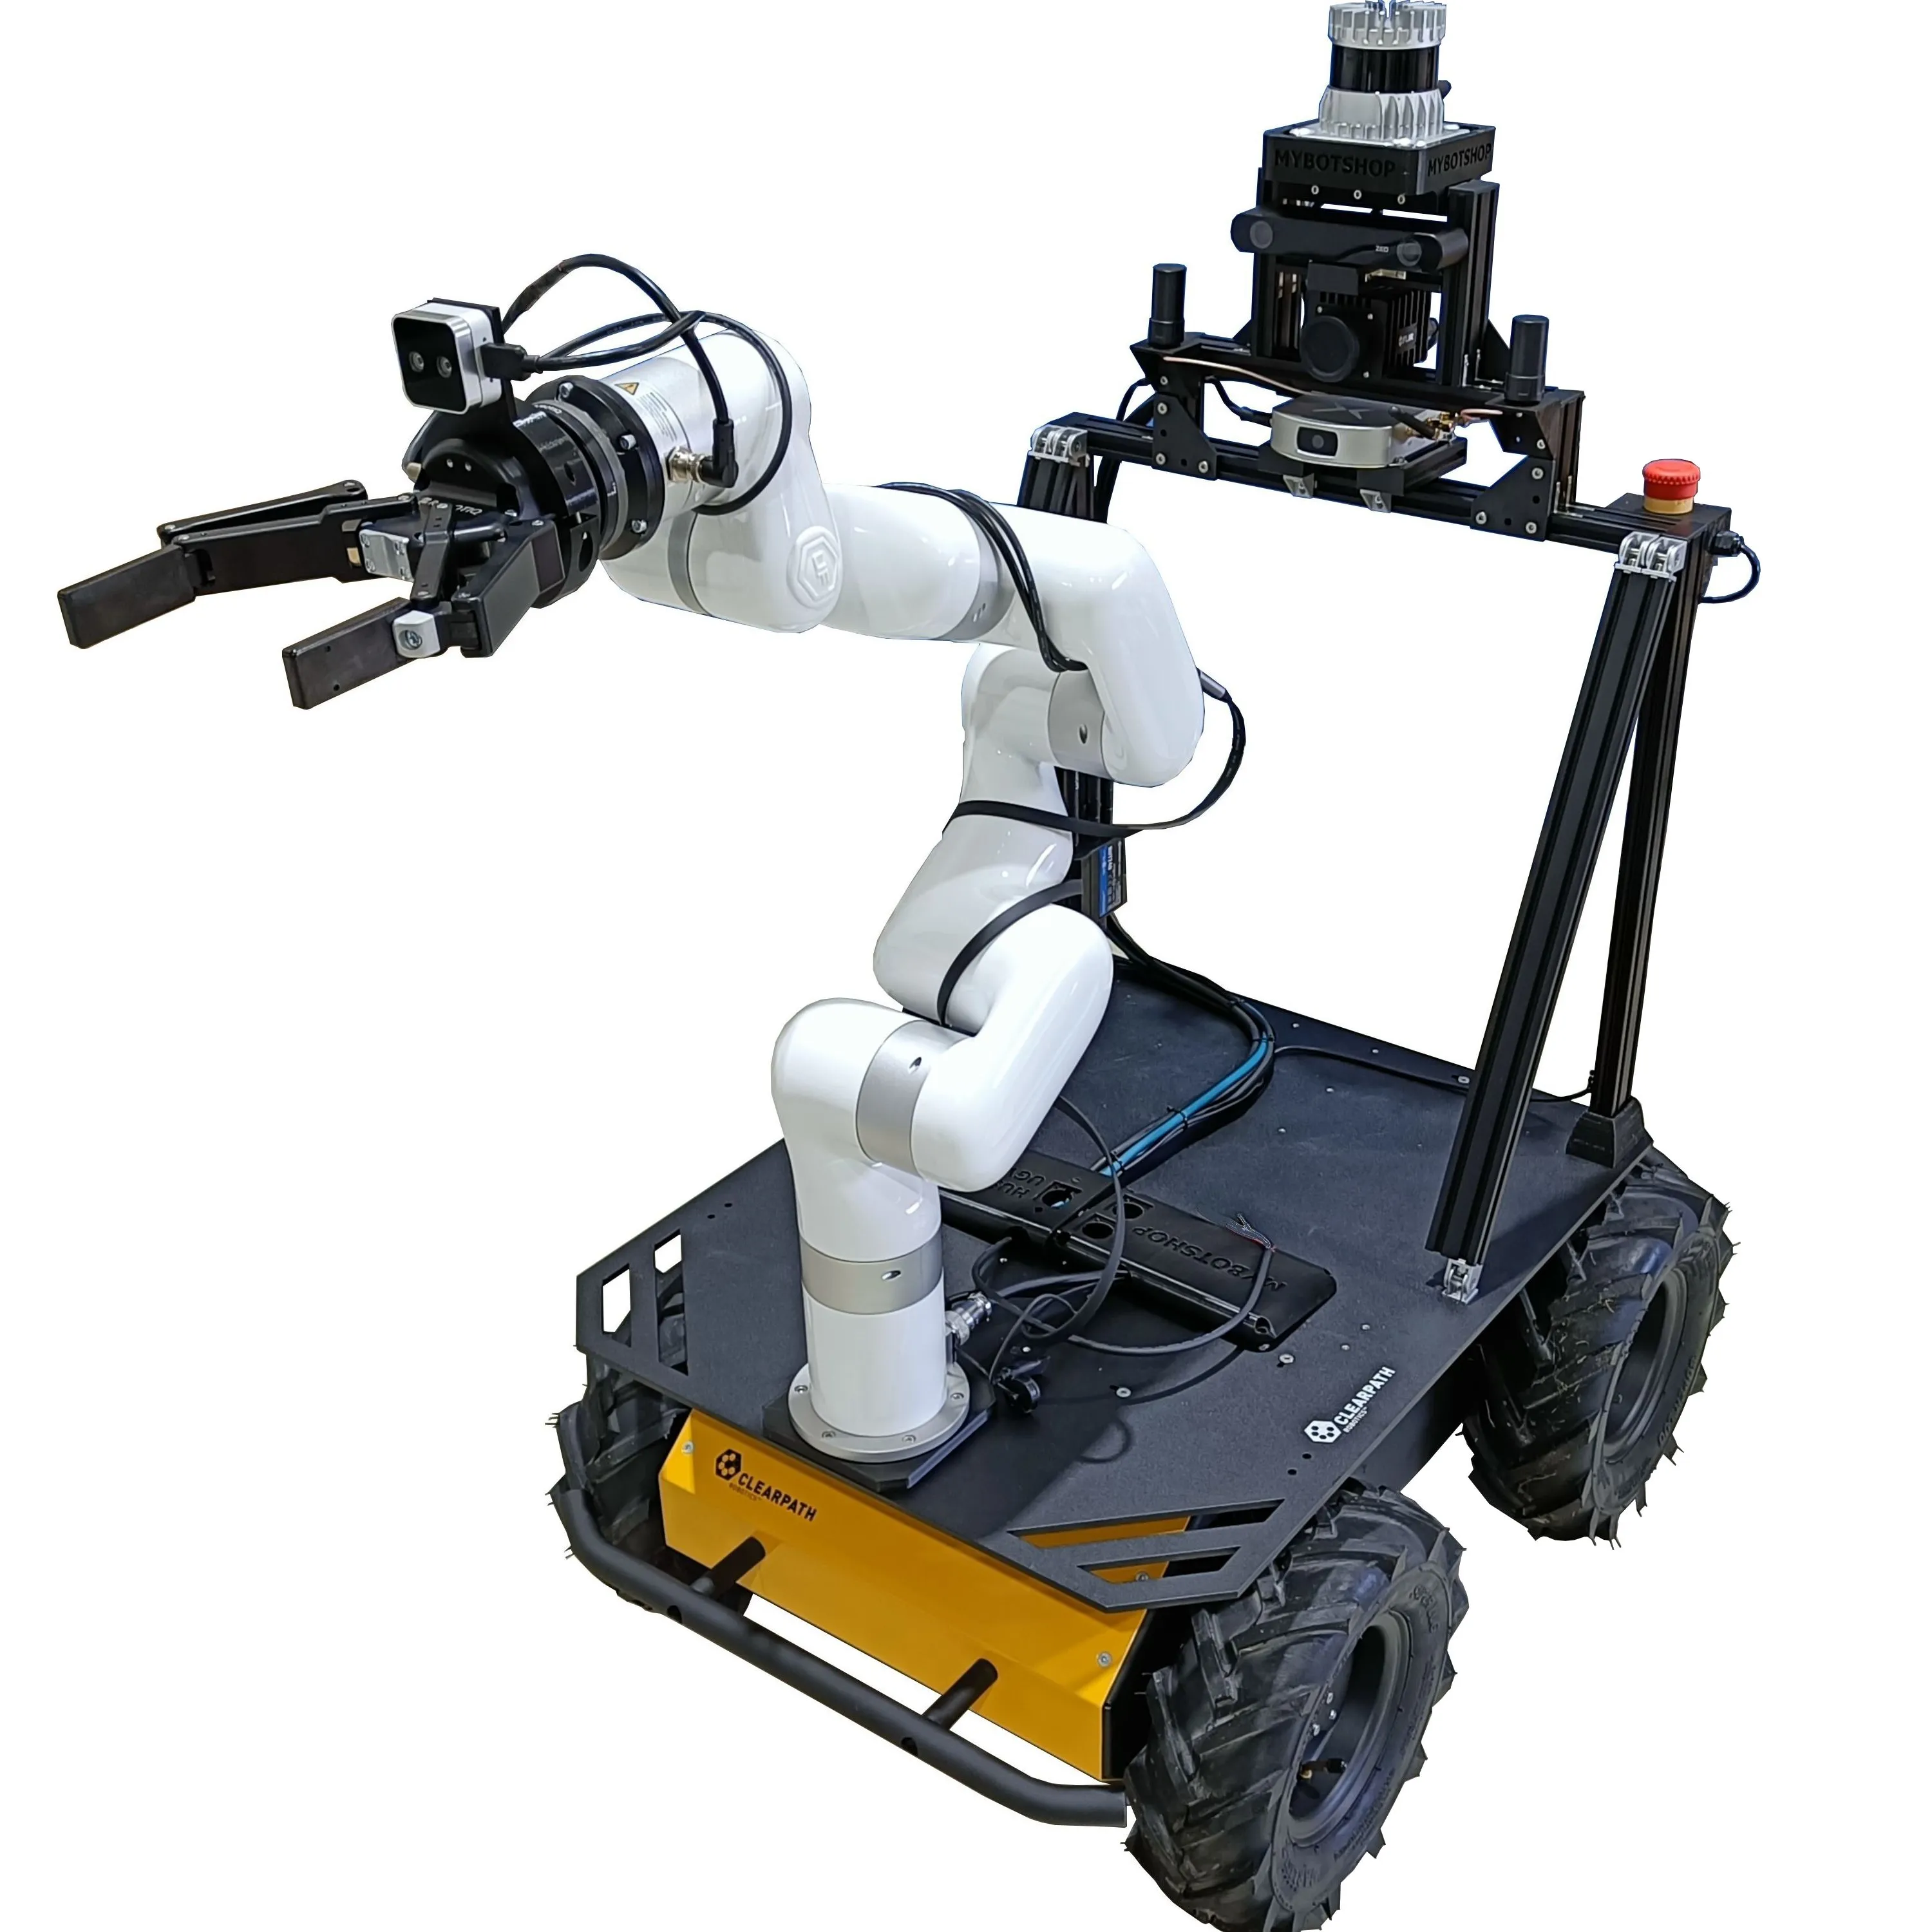
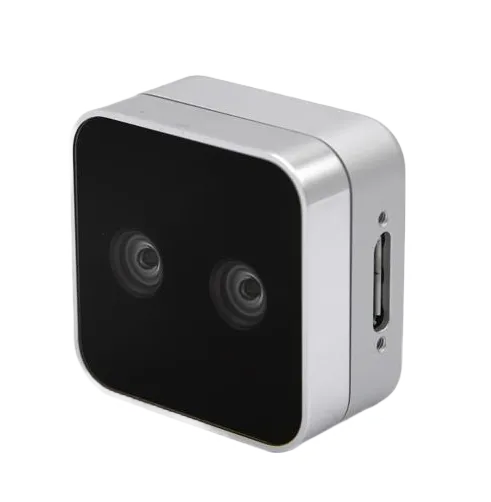
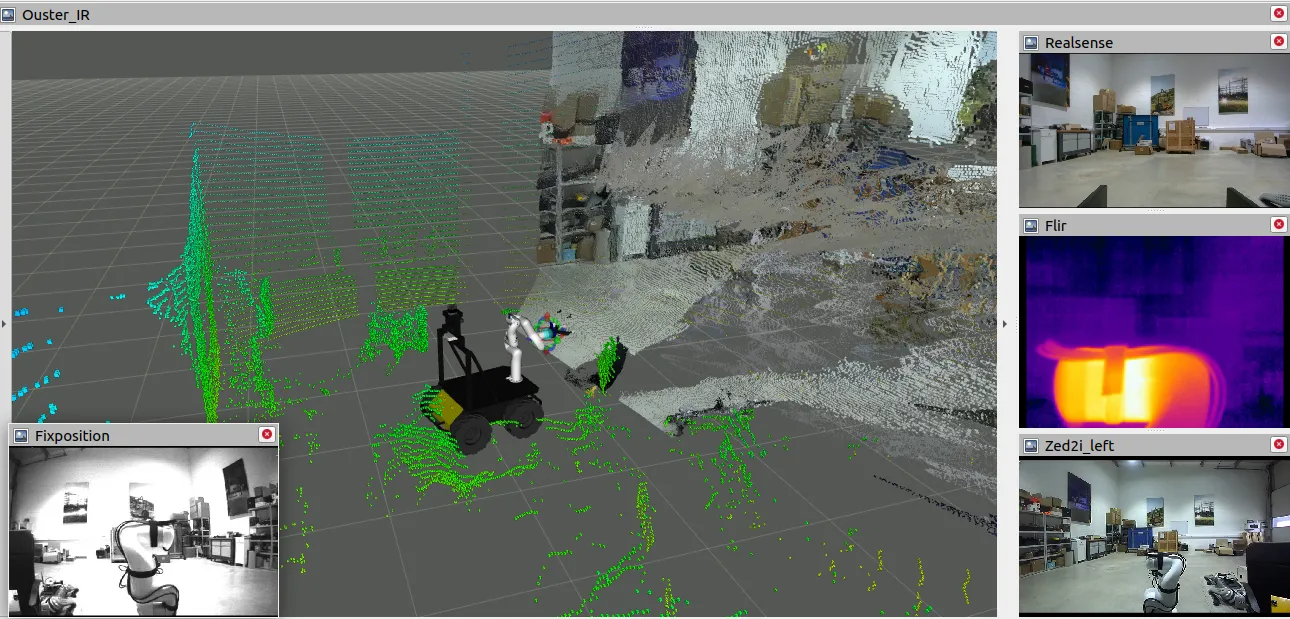
This specifies the configuration for Husky FH. It has an ouster lidar, Fixposition gps, nvidia board, ZED2 depth camera, Flir thermal camera, Realsense depth camera, Ufactory xarm6,Robotiq gripper, Robotiq Force torque sensor and router to establish wireless connection with the robot via WiFi.
Getting Started
To start-up the Husky, the instructional video playlist can be used which details the opening and use of the Husky.
Data Sheets
Documentations
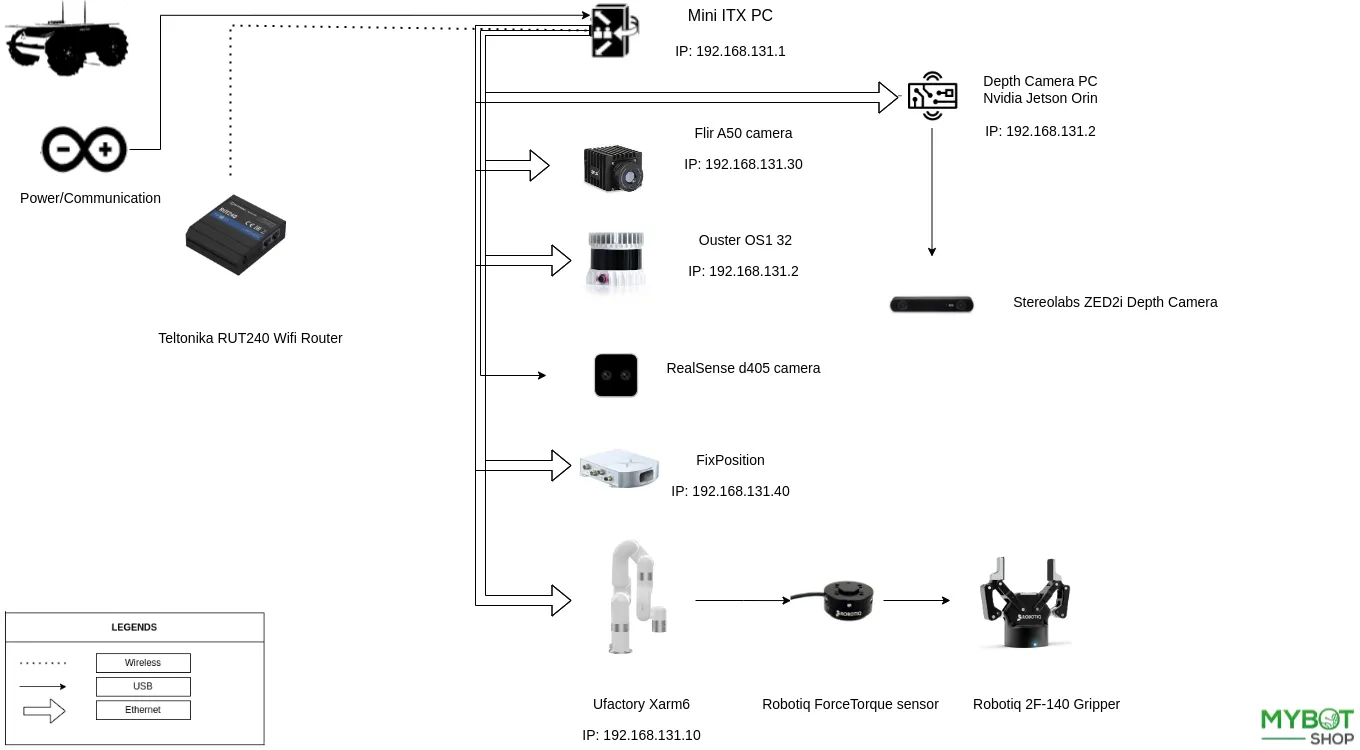
Connection Scheme
Auxiliary Sensor Startup
On husky startup the following drivers are started:
Husky base driver
Phidgets IMU
ZED2i(+Nvidia board)
The Ouster, ZED2i, Flir, Fixposition, xArm6, robotiq gripper & Force Torque sensor is powered on as well but the driver has to be manually started (can be automated as explained in Custom Startup Job) to ensure that the husky base driver starts up quickly and regardless of whether other components are attached or not.
ROS (Noetic)
The following commands are executed to activate the drivers for all the sensors when using ROS:
Robotiq 2F-240:  roslaunch hxg_robotiq robotiq_2f_140.launch
Robotiq Ft-300:  roslaunch hxg_robotiq robotiq_ft_300.launch
Flir:            roslaunch hxg_flir system.launch
Ouster:          roslaunch hxg_lidars lidars.launch
Realsense:       roslaunch hxg_realsense_cameras wrist_camera.launch
Fixposition:     roslaunch hxg_fixposition system.launch
ROS2 (Foxy)
The following commands are executed to activate the drivers for all the sensors when using ROS2:
Robotiq 2F-240:  ros2 run hxg_robotiq_2f_140 system_launch
Robotiq Ft-300:  ros2 launch hxg_robotiq_ft_300 system.launch.py
Flir:            ros2 launch hxg_flir system.launch.py
Ouster:          ros2 launch hxg_lidars system.launch.py
Realsense:       ros2 launch hxg_realsense system.launch.py
Fixposition:     ros2 launch hxg_fixposition system.launch.py
Network-Setup
The Husky FH has Multiple networks and vary slightly, the following table shows the networks.
Device |
Network Address |
Users |
Password |
|---|---|---|---|
Husky |
192.168.131.1 |
administrator |
mybotshop |
Nvidia |
192.168.131.3 |
administrator |
mybotshop |
Flir |
192.168.131.30 |
admin |
KirZ0G |
Ouster |
192.168.131.20 |
N/A |
N/A |
xArm6 |
192.168.131.10 |
N/A |
N/A |
xArm6 Web |
192.168.131.10:18333 |
N/A |
N/A |
Fixposition |
192.168.131.40 |
N/A |
N/A |
Router |
192.168.131.100 |
N/A |
Mybotshop23 |
Operation
To use the drivers, the following steps must be followed:
Connect to the Husky WiFi.
ssh into the husky via:
ssh -X administrator@192.168.131.1
mybotshop
The following message will show up with quick instructions for startup.
-----------------------------------------------------------------------
 _  _  _  _  ____   __  ____  ____  _  _   __  ____
( \/ )( \/ )(  _ \ /  \(_  _)/ ___)/ )( \ /  \(  _ \
/ \/ \ )  /  ) _ ((  O ) )(  \___ \) __ ((  O )) __/
\_)(_/(__/  (____/ \__/ (__) (____/\_)(_/ \__/(__)
-----------------------------------------------------------------------
Current PC: Husky
-----------------------------------------------------------------------
Husky IP:     192.168.131.1
Pswd:         mybotshop
SSH:          ssh -X administrator@192.168.131.1
Nvidia IP:    192.168.131.3
Pswd:         mybotshop
SSH:          ssh -X administrator@192.168.131.3
Router IP:    192.168.131.100  (INFO: Default off)
Router ID:    admin
Pswd:         Mybotshop23
xARM6 IP:     192.168.131.10  (INFO: Default off)
Web IP:       192.168.131.10:18333
Ouster IP:    192.168.131.20  (INFO: Default off)
Flir IP:      192.168.131.30  (INFO: Default off)
Web ID:       admin
Pswd:         KirZ0G
Fixpos IP:    192.168.131.40  (INFO: Default off)
--------------------------------------------------------------------------
HXG Noetic (Default)
--------------------------------------------------------------------------
Activate:        hxg_noetic
HXG status:      sudo service hxg status
HXG start:       sudo service hxg start
HXG stop:        sudo service hxg stop
HXG restart:     sudo service hxg restart
Update startup:  rosrun hxg_startup startup_installer.py
Startup:         roslaunch hxg_startup system_bringup.launch
                (INFO: Default on, Runs  Husky Driver
                                        Phidgets Driver)
Moveit:          roslaunch hxg_manipulation system_moveit.launch
                (INFO: Default off, Runs xARM6 Driver
                                        Robotiq-2F-140 Driver
                                        Robotiq-FT-300 Driver)
Robotiq 2F-240:  roslaunch hxg_robotiq robotiq_2f_140.launch
                (INFO: Default off)
Robotiq Ft-300:  roslaunch hxg_robotiq robotiq_ft_300.launch
Flir:            roslaunch hxg_flir system.launch
                (INFO: Default off)
Ouster:          roslaunch hxg_lidars lidars.launch
                (INFO: Default off)
Realsense:       roslaunch hxg_realsense_cameras wrist_camera.launch
                (INFO: Default off)
Fixposition:     roslaunch hxg_fixposition system.launch
                (INFO: Default off, Requires RTK Connection
                                    Requires Internet Connection)
Zed2i:           (INFO: Default off, ROS-Multimachine from Nvidia)
Visualization:   roslaunch hxg_viz view_robot.launch
--------------------------------------------------------------------------
HXG Foxy
--------------------------------------------------------------------------
Activate:        hxg_foxy
System Bringup:  ros2 launch hxg_bringup system.launch.py
                (Runs Husky Driver
                    Phidgets Driver
                    xARM6 Hardware Driver
                    xARM6 Joinstate Driver)
Moveit (HXG):    ros2 launch hxg_moveit system.launch.py
Moveit (xARM6):  ros2 launch hxg_manipulation xarm6_moveit.launch.py
Robotiq 2F-240:  ros2 run hxg_robotiq_2f_140 system_launch
Robotiq Ft-300:  ros2 launch hxg_robotiq_ft_300 system.launch.py
Flir:            ros2 launch hxg_flir system.launch.py
Ouster:          ros2 launch hxg_lidars system.launch.py
Realsense:       ros2 launch hxg_realsense system.launch.py
Fixposition:     ros2 launch hxg_fixposition system.launch.py
                (INFO: Default off, Requires RTK Connection
                                    Requires Internet Connection)
ZED2i:           (INFO: Default off, ROS-Multimachine from Nvidia)
Visualization:   ros2 launch hxg_viz view_robot.launch.py
--------------------------------------------------------------------------
Custom Startup Job
The launch file system_bringup.launch in the catkin package of hxg_startup includes everything which is being launched at the startup.
Startup job and its content can be verified in the directory /etc/ros/noetic; here the original launch file will be copied.
If you are using ROS2 then in that case its content can be verified in the directory /etc/ros/foxy.
Warning
Do not create Multiple startup jobs with Multiple launch files this will break the system. Only one launch file should be created and everything else should be included in this.
If the systems breaks at startup you can start debugging by:
For ROS-Noetic
roslaunch hxg_startup system_bringup.launch
For ROS2-Foxy
ros2 launch hxg_startup system_bringup.launch.py
This will show which part of the launch file is having errors or you can start running everything in the launch file one by one in separate terminals.
Adding ROS-Nodes & Launch Files to Robot Startup
Navigate and open
hxg_startup/launch/system_bringup.launch.Add your custom node or launch file.
Run the following script:
rosrun hxg_startup startup_installer.py
Verify if it is working correctly via:
sudo service hxg status
Important
Once you add your custom node or launch files in the system_bringup.launch, you will need to
run rosrun hxg_startup startup_installer.py so that it updates the start-up job on the Husky’s PC otherwise it will not
be updated.
Note
Similar steps are available for ROS Foxy.
Ouster
To manually launch the ouster driver, the following command can be used when using ROS(Noetic):
roslaunch hxg_lidars lidars.launch
To manually launch the ouster driver, the following command can be used when using ROS2(Foxy):
ros2 launch hxg_lidars system.launch.py
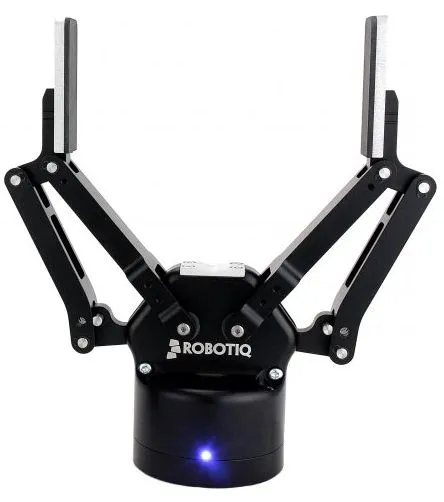
Robotiq 2F-240
To manually launch the robotiq gripper driver, the following command can be used when using ROS(Noetic):
roslaunch hxg_robotiq robotiq_2f_140.launch
To manually launch the robotiq gripper driver, the following command can be used when using ROS2(Foxy):
ros2 run hxg_robotiq_2f_140 system_launch.py
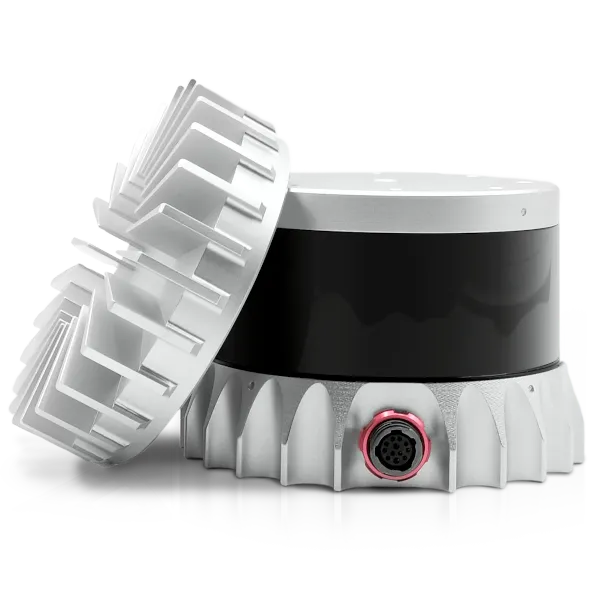
Robotiq Ft-300
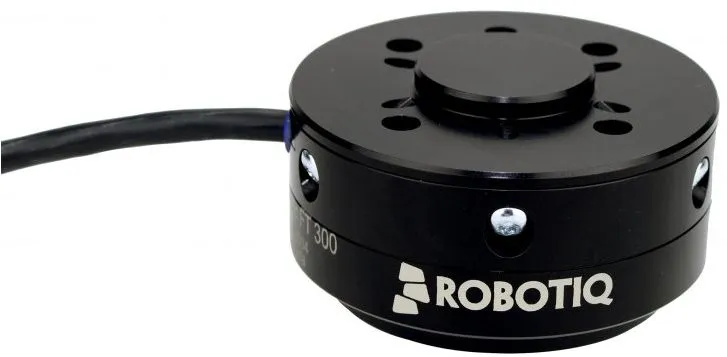
To manually launch the Robotiq Forcetorque driver, the following command can be used when using ROS(Noetic):
roslaunch hxg_robotiq robotiq_ft_300.launch
For force torque reset to zero ROS(Noetic).
rosservice call /robotiq_ft_sensor_acc "command_id: 8 command: ''"
To manually launch the Robotiq Forcetorque driver, the following command can be used when using ROS2(Foxy):
ros2 launch hxg_robotiq_ft_300 system.launch.py
For force torque reset to zero ROS2(Foxy).
ros2 service call /robotiq_ft_sensor_acc robotiq_ft_sensor/srv/Sensoraccessor command_id:\ 8
Flir
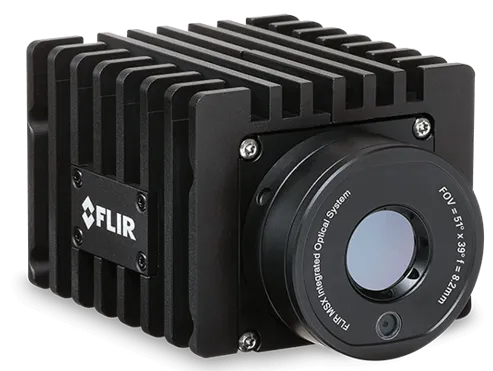
To manually launch the Flir driver, the following command can be used when using ROS(Noetic):
roslaunch hxg_flir system.launch
To manually launch the Flir driver, the following command can be used when using ROS2(Foxy):
ros2 launch hxg_flir system.launch.py
Realsense D405
To manually launch the Realsense driver, the following command can be used when using ROS(Noetic):
roslaunch hxg_realsense_cameras wrist_camera.launch
To manually launch the Realsense driver, the following command can be used when using ROS2(Foxy):
ros2 launch hxg_realsense system.launch.py
Fixposition
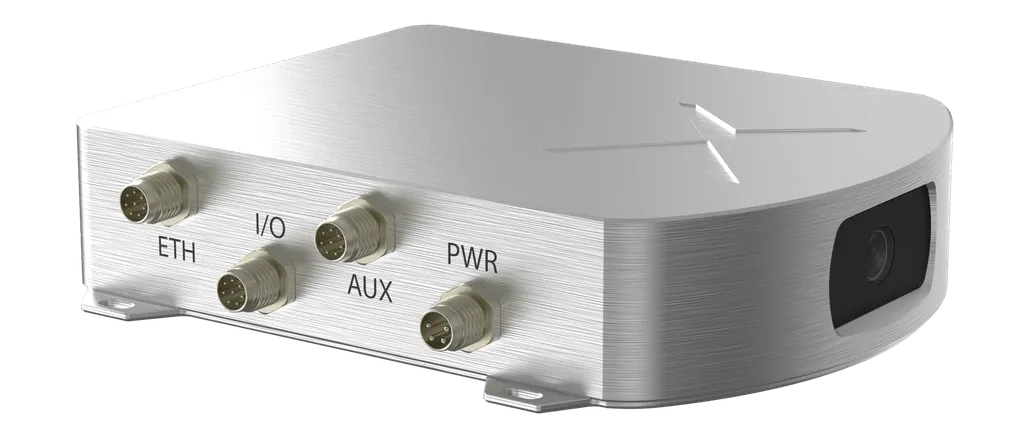
To manually launch the Fixposition driver, the following command can be used when using ROS(Noetic):
roslaunch hxg_fixposition system.launch
To manually launch the Fixposition driver, the following command can be used when using ROS2(Foxy):
ros2 launch hxg_fixposition system.launch.py
ZED2i

On the robot start-up the ZED2i camera automatically starts and all its information is published to Husky’s main PC. The information can be verified via:
rostopic list
when using ROS2 you can verify the information via:
ros2topic list
It may take upto a minute for all the drivers of the Nvidia to start.
The main purpose of the Nvidia is to enable the CUDA for ZED2.
The stream for the ZED2 is transferred over to the main Husky PC via ROS Multi machine.
An example stream can be viewed rostopic echo /zed2/zed2_node/rgb/image_rect_color.
Important
The ZED2i requires USB 3.0 port and in the installed Nvidia board there is one available USB 3.0 port. So incase of removal please plug in the ZED2i into the same initial port it was in.
Moveit
If you want to run moveit:
For ROS-Noetic:
roslaunch hxg_manipulation system_moveit.launch
For ROS2-Foxy:
ros2 launch hxg_moveit system.launch.py
Visualization
To visualize the robot in Rviz when using ROS-Noetic please run the following command:
roslaunch hxg_viz view_robot.launch
To visualize the robot in Rviz when using ROS2-Foxy please run the following command:
ros2 launch hxg_viz view_robot.launch.py
Nvidia AGX Orin
To verify the status of the Zed2i service and its connection with the main PC, please adhere to the following steps:
Connect to the Husky WiFi.
ssh into the Nvidia via:
ssh -X administrator@192.168.131.3
mybotshop
The following message will show up with quick instructions for startup.
-----------------------------------------------------------------------
     _  _  _  _  ____   __  ____  ____  _  _   __  ____
    ( \/ )( \/ )(  _ \ /  \(_  _)/ ___)/ )( \ /  \(  _ \
    / \/ \ )  /  ) _ ((  O ) )(  \___ \) __ ((  O )) __/
    \_)(_/(__/  (____/ \__/ (__) (____/\_)(_/ \__/(__)
-----------------------------------------------------------------------
Current PC: Nvidia
-----------------------------------------------------------------------
Husky IP:     192.168.131.1
Pswd:         mybotshop
SSH:          ssh -X administrator@192.168.131.1
Nvidia IP:    192.168.131.3
Pswd:         mybotshop
SSH:          ssh -X administrator@192.168.131.3
--------------------------------------------------------------------------
Nvidia Noetic (Default)
--------------------------------------------------------------------------
Activate:           hxg_noetic
Nvidia status:      sudo service nv_ros status
Nvidia start:       sudo service nv_ros start
Nvidia stop:        sudo service nv_ros stop
Nvidia restart:     sudo service nv_ros restart
Update startup:     rosrun nv_startup startup_installer.py
ZED2i:              roslaunch nv_startup startup.launch
                    (INFO: Default on)
--------------------------------------------------------------------------
Nvidia Foxy
--------------------------------------------------------------------------
Activate:        hxg_foxy
ZED2i:           ros2 launch nv_startup driver.launch.py
                (INFO: Default off)
Build package:   colcon build --symlink-install
                            --allow-overriding image_transport
                            --cmake-args=-DCMAKE_BUILD_TYPE=Release
--------------------------------------------------------------------------
Custom Startup Job Nvidia
The launch file startup.launch in the catkin package of nv_startup includes everything which is being launched at the startup.
Startup job and its content can be verified in the directory /etc/ros/noetic; here the original launch file will be copied.
If you are using ROS2 then in that case its content can be verified in the directory /etc/ros/foxy.
Warning
Do not create Multiple startup jobs with Multiple launch files this will break the system. Only one launch file should be created and everything else should be included in this.
If the systems breaks at startup you can start debugging by:
for ROS-Noetic .. code:: Bash
roslaunch nv_startup startup.launch
for ROS2-Foxy .. code:: Bash
ros2 launch nv_startup driver.launch.py
This will show which part of the launch file is having errors or you can start running everything in the launch file one by one in separate terminals.
Adding ROS-Nodes & Launch Files to Nvidia Startup
Navigate and open
nv_startup/launch/startup_installer.launch.Add your custom node or launch file.
Run the following script:
rosrun nv_startup startup_installer.py
Verify if it is working correctly via:
sudo service nv_ros status
Important
Once you add your custom node or launch files in the startup.launch, you will need to
run rosrun nv_startup startup_installer.py so that it updates the start-up job on the Husky’s PC otherwise it will not
be updated.