Husky MÜ
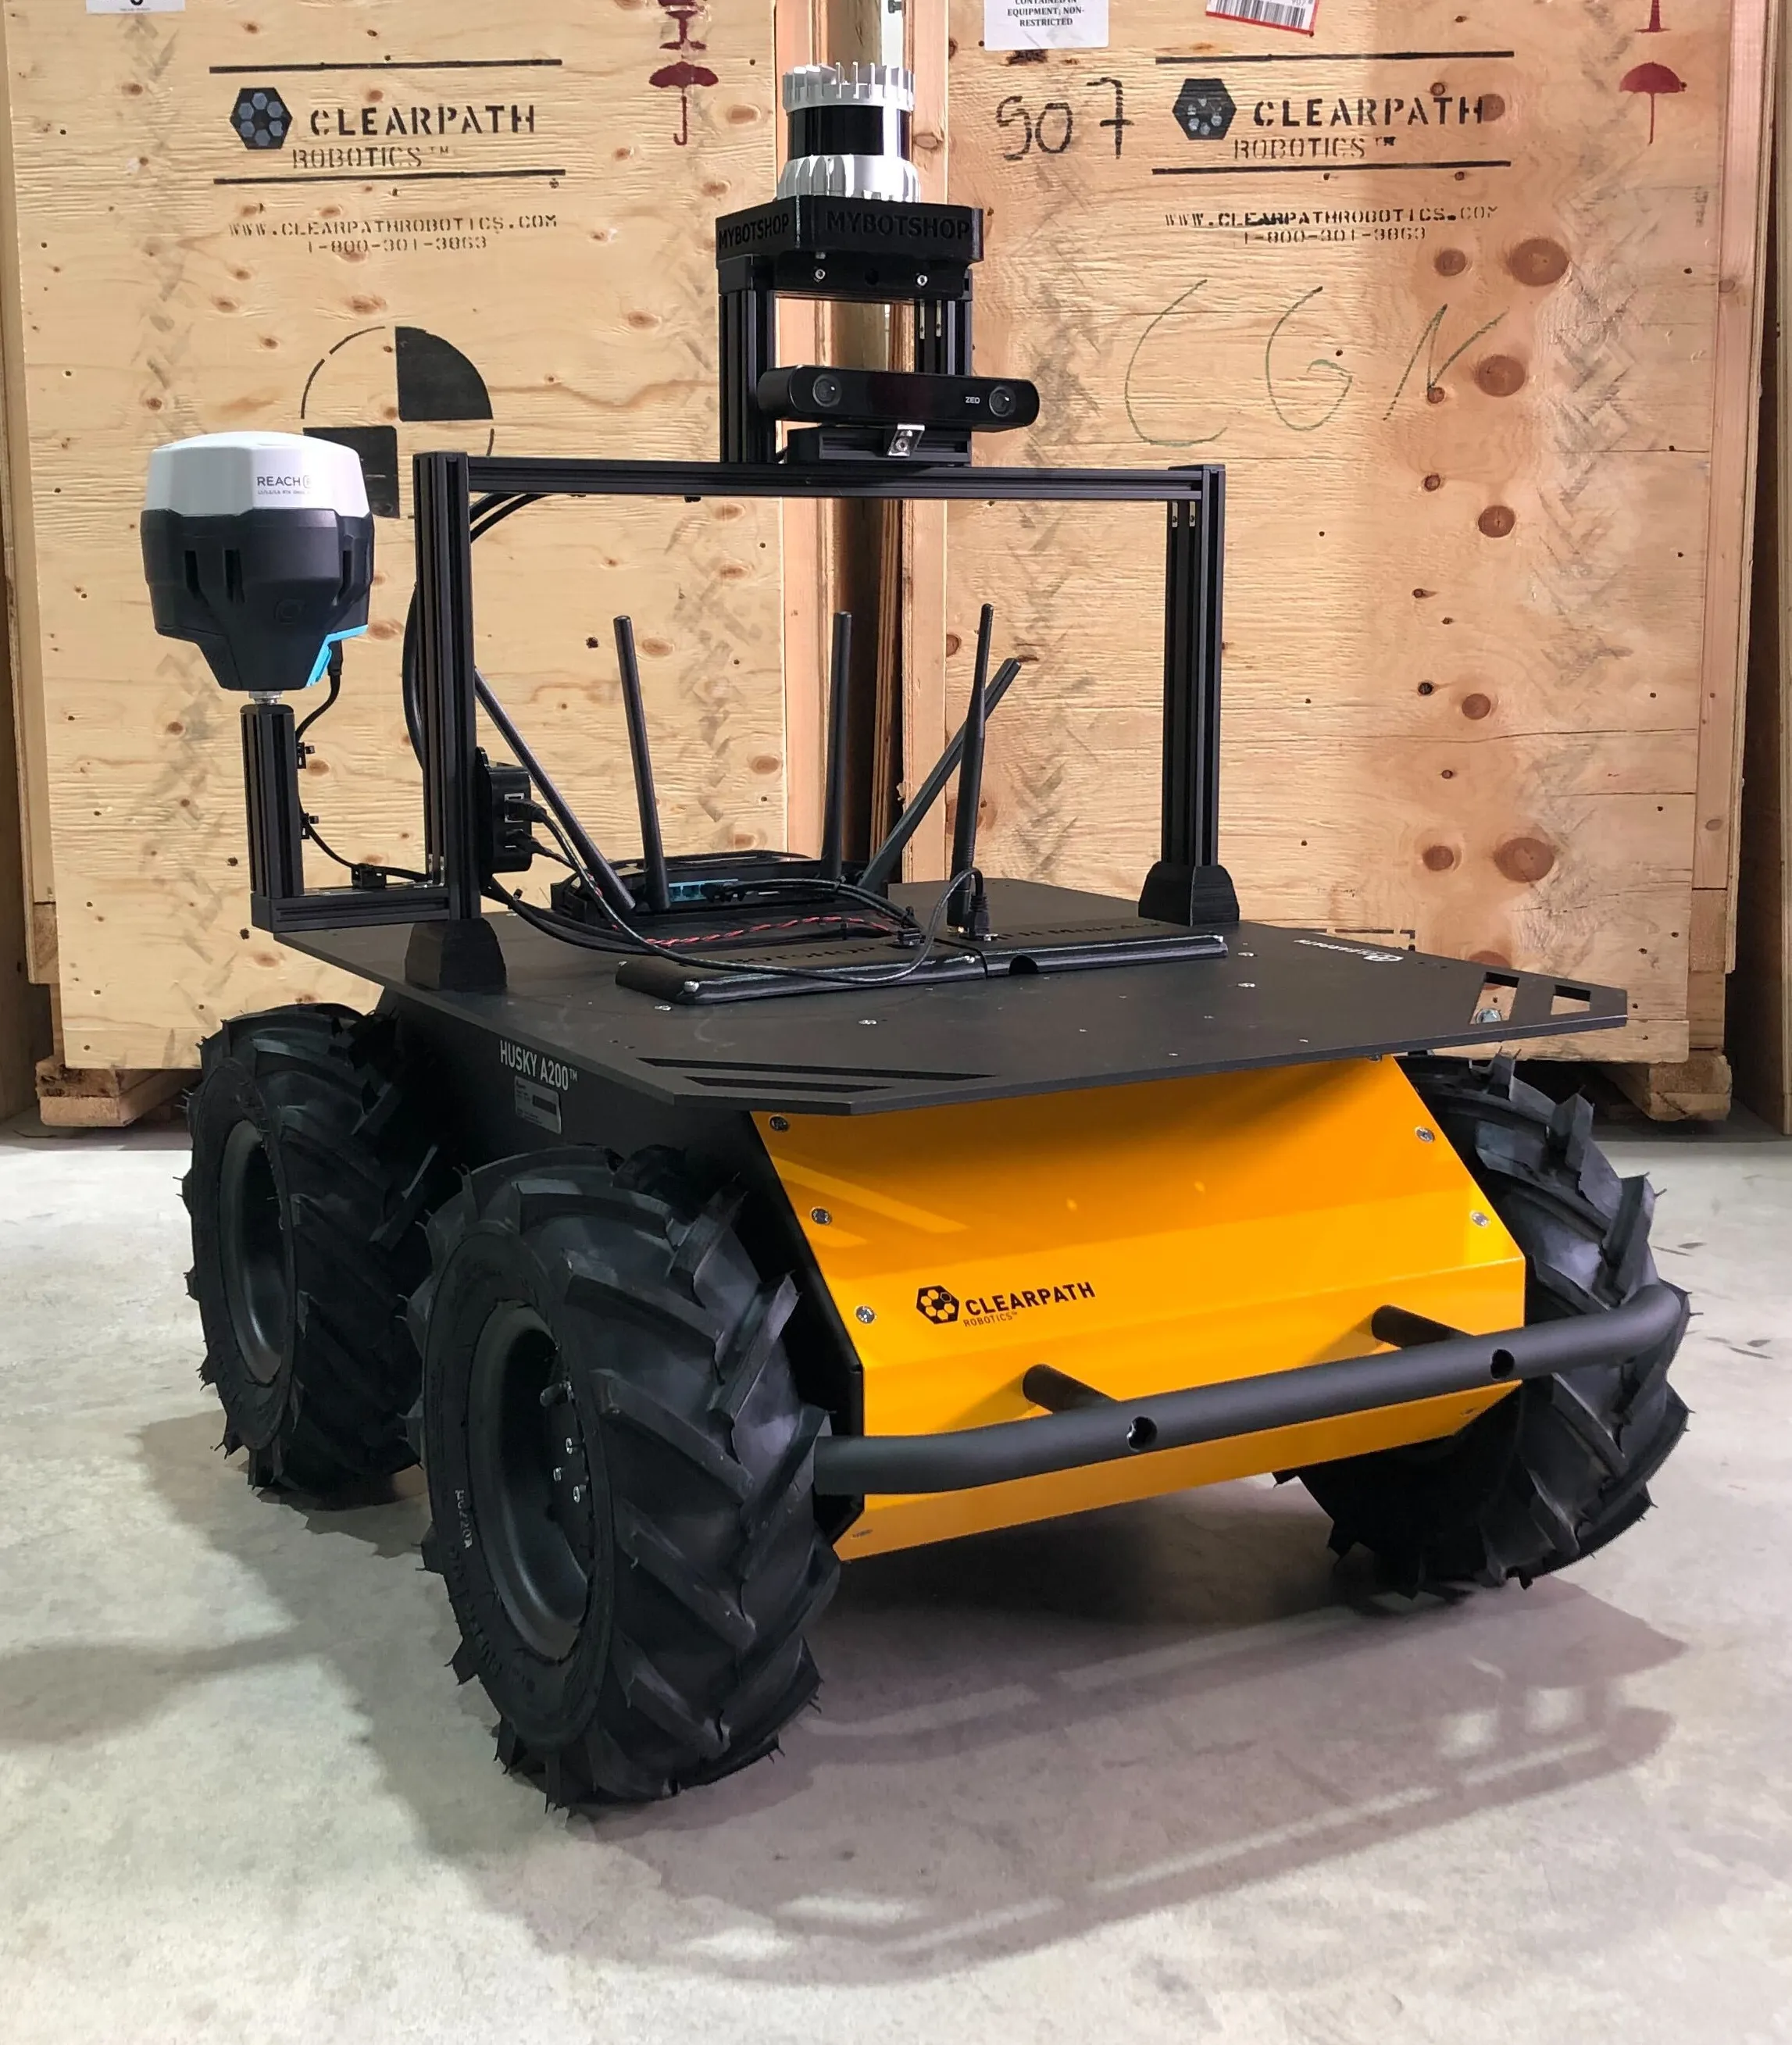
This specifies the configuration for Husky MU. It has an ouster lidar, reach rs2 gps, nvidia board, ZED2 depth camera, router, and arduino nano that acts as a power relay.
Getting Started
To start-up the Husky, the instructional video playlist can be used which details the opening and use of the Husky.
Data Sheets
Documentations
Connection Scheme

Auxiliary Sensor Startup
On husky startup the following drivers are started:
Husky base driver
Power-relay
ZED2 camera (+Nvidia board)
The Ouster is powered on as well but the driver has to be manually started (can be automated as explained in Custom Startup Job) to ensure that the husky base driver starts up quickly. The Emlid hardware as well as the driver does not start on startup either (The hardware can be configured to start on startup via the mobile app). Both Emlid and Ouster driver run when either of the following commands are run:
roslaunch mbs_navigation odom_navigation.launch
roslaunch mbs_gps_navigation gps_navigation.launch
Network-Setup
The Husky MU has multiple networks and vary slightly, the following table shows the networks.
Device |
Network Address |
Users |
Password |
|---|---|---|---|
Husky |
192.168.131.1 |
administrator |
clearpath |
Nvidia |
192.168.131.2 |
administrator |
clearpath |
Emlid |
192.168.131.3 |
N/A |
N/A |
Ouster |
192.168.132.1 |
N/A |
N/A |
Router |
192.168.131.10 |
N/A |
admin |
Multi machine setup
The ROS server side is should be setup on the Husky. So you would require setting up it in your own computer.
# Server PC
export ROS_MASTER_URI=http://192.168.131.1:11311
export ROS_HOSTNAME=192.168.131.1
export ROS_IP=192.168.131.1


# Client PC
export ROS_MASTER_URI=http://192.168.131.1:11311
export ROS_HOSTNAME=192.168.131.124
export ROS_IP=192.168.131.124
To setup multi-machine add the client pc details from the code above to the .bashrc file.
The IP 192.168.131.— should be replaced with your IP which can be found out with ifconfig
e.g. 124 in this case.
Operation
To use the waypoint navigation and drivers, the following steps must be followed:
Connect to the Husky WiFi.
ssh into the husky via:
$ ssh -X administrator@192.168.131.1
$ clearpath
The following message will show up with quick instructions for startup.
---------------------------------------------------------------------------------------------------------------------------------------------------------

ooo        ooooo oooooo   oooo oooooooooo.    .oooooo.   ooooooooooooo  .oooooo..o ooooo   ooooo   .oooooo.   ooooooooo.                      .oooooo.
`88.       .888'  `888.   .8'  `888'   `Y8b  d8P'  `Y8b  8'   888   `8 d8P'    `Y8 `888'   `888'  d8P'  `Y8b  `888   `Y88.                   d8P'  `Y8b
 888b     d'888    `888. .8'    888     888 888      888      888      Y88bo.       888     888  888      888  888   .d88'      oooo  oooo  888
 8 Y88. .P  888     `888.8'     888oooo888' 888      888      888       `"Y8888o.   888ooooo888  888      888  888ooo88P'       `888  `888  888
 8  `888'   888      `888'      888    `88b 888      888      888           `"Y88b  888     888  888      888  888               888   888  888     ooooo
 8    Y     888       888       888    .88P `88b    d88'      888      oo     .d8P  888     888  `88b    d88'  888               888   888  `88.    .88'
o8o        o888o     o888o     o888bood8P'   `Y8bood8P'      o888o     8""88888P'  o888o   o888o  `Y8bood8P'  o888o              `V88V"V8P'  `Y8bood8P'

Current PC: Husky
---------------------------------------------------------------------------------------------------------------------------------------------------------

Husky IP:   192.168.131.1 (ssh -X administrator@192.168.131.1)
Pswd:       clearpath

Nvidia IP:  192.168.131.2 (ssh -X administrator@192.168.131.2)
Pswd:       clearpath

Emlid IP:   192.168.131.3

Ouster IP:   192.168.132.1

WiFi IP:     192.168.131.10
Pswd:        clearpath

Router Pswd: admin

---------------------------------------------------------------------------------------------------------------------------------------------------------
Husky-Drivers
---------------------------------------------------------------------------------------------------------------------------------------------------------

Husky status:     sudo service mbs_husky status
Husky start:      sudo service mbs_husky start
Husky stop:       sudo service mbs_husky stop
Husky restart:    sudo service mbs_husky restart

Calibrate IMU:    rosrun husky_bringup calibrate_compass

View robot:       roslaunch mbs_viz viz.launch
Nav robot:        roslaunch mbs_viz nav_viz.launch

---------------------------------------------------------------------------------------------------------------------------------------------------------
Power relay
---------------------------------------------------------------------------------------------------------------------------------------------------------

Pwr-relay on:     rosservice call /set_power_status "data: true"
Pwr-relay off:    rosservice call /set_power_status "data: false"

---------------------------------------------------------------------------------------------------------------------------------------------------------
Ouster driver:
---------------------------------------------------------------------------------------------------------------------------------------------------------

Ouster driver:    roslaunch mbs_ouster ouster.launch

---------------------------------------------------------------------------------------------------------------------------------------------------------
Waypoint driver
---------------------------------------------------------------------------------------------------------------------------------------------------------

Odom Navigation driver: roslaunch mbs_navigation odom_navigation.launch
GPS Navigation driver:  roslaunch mbs_gps_navigation gps_navigation.launch

Indoor-Collect waypoints: roslaunch mbs_waypoint_follower indoor_record_waypoints.launch
Indoor-Follow waypoints:  roslaunch mbs_waypoint_follower indoor_follow_waypoints.launch

Outdoor-Collect waypoints: roslaunch mbs_waypoint_follower outdoor_record_waypoints.launch
Outdoor-Follow waypoints:  roslaunch mbs_waypoint_follower outdoor_follow_waypoints.launch

---------------------------------------------------------------------------------------------------------------------------------------------------------
Scroll out for clearer view
---------------------------------------------------------------------------------------------------------------------------------------------------------
For in-depth instructions the 3D-SLAM information is applicable.
Custom Startup Job
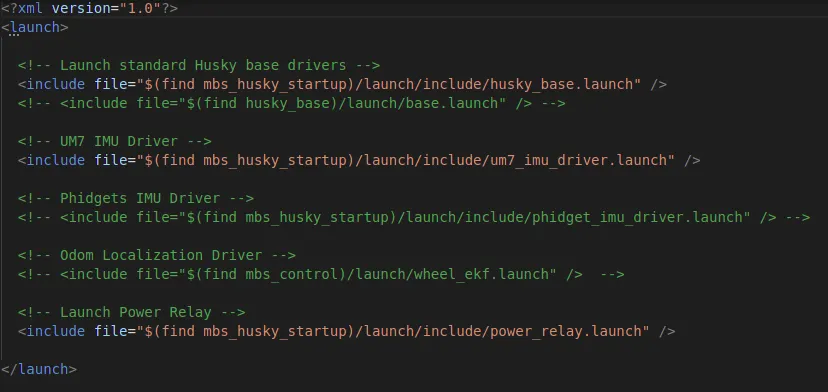
The launch file mbs_husky.launch in the catkin package of mbs_husky_startup includes everything which is being launched at the startup.
Startup job and its content can be verified in the directory /etc/ros/melodic; here the original launch file will be copied.
Warning
Do not create multiple startup jobs with multiple launch files this will break the system. Only one launch file should be created and everything else should be included in this.
If the systems breaks at startup you can start debugging by:
roslaunch mbs_husky_startup mbs_husky.launch
This will show which part of the launch file is having errors or you can start running everything in the launch file one by one in separate terminals.
Adding ROS-Nodes & Launch Files to Robot Startup
Navigate and open
mbs_husky_startup/launch/mbs_husky.launch.
Add your custom node or launch file.
Run the following script:
rosrun mbs_husky_startup startup_script.sh
Verify if it is working correctly via:
sudo service mbs_husky status
Important
Once you add your custom node or launch files in the mbs_husky.launch, you will need to
run rosrun mbs_husky_startup startup_script.sh so that it updates the start-up job on the Husky’s PC otherwise it will not
be updated.
Ouster
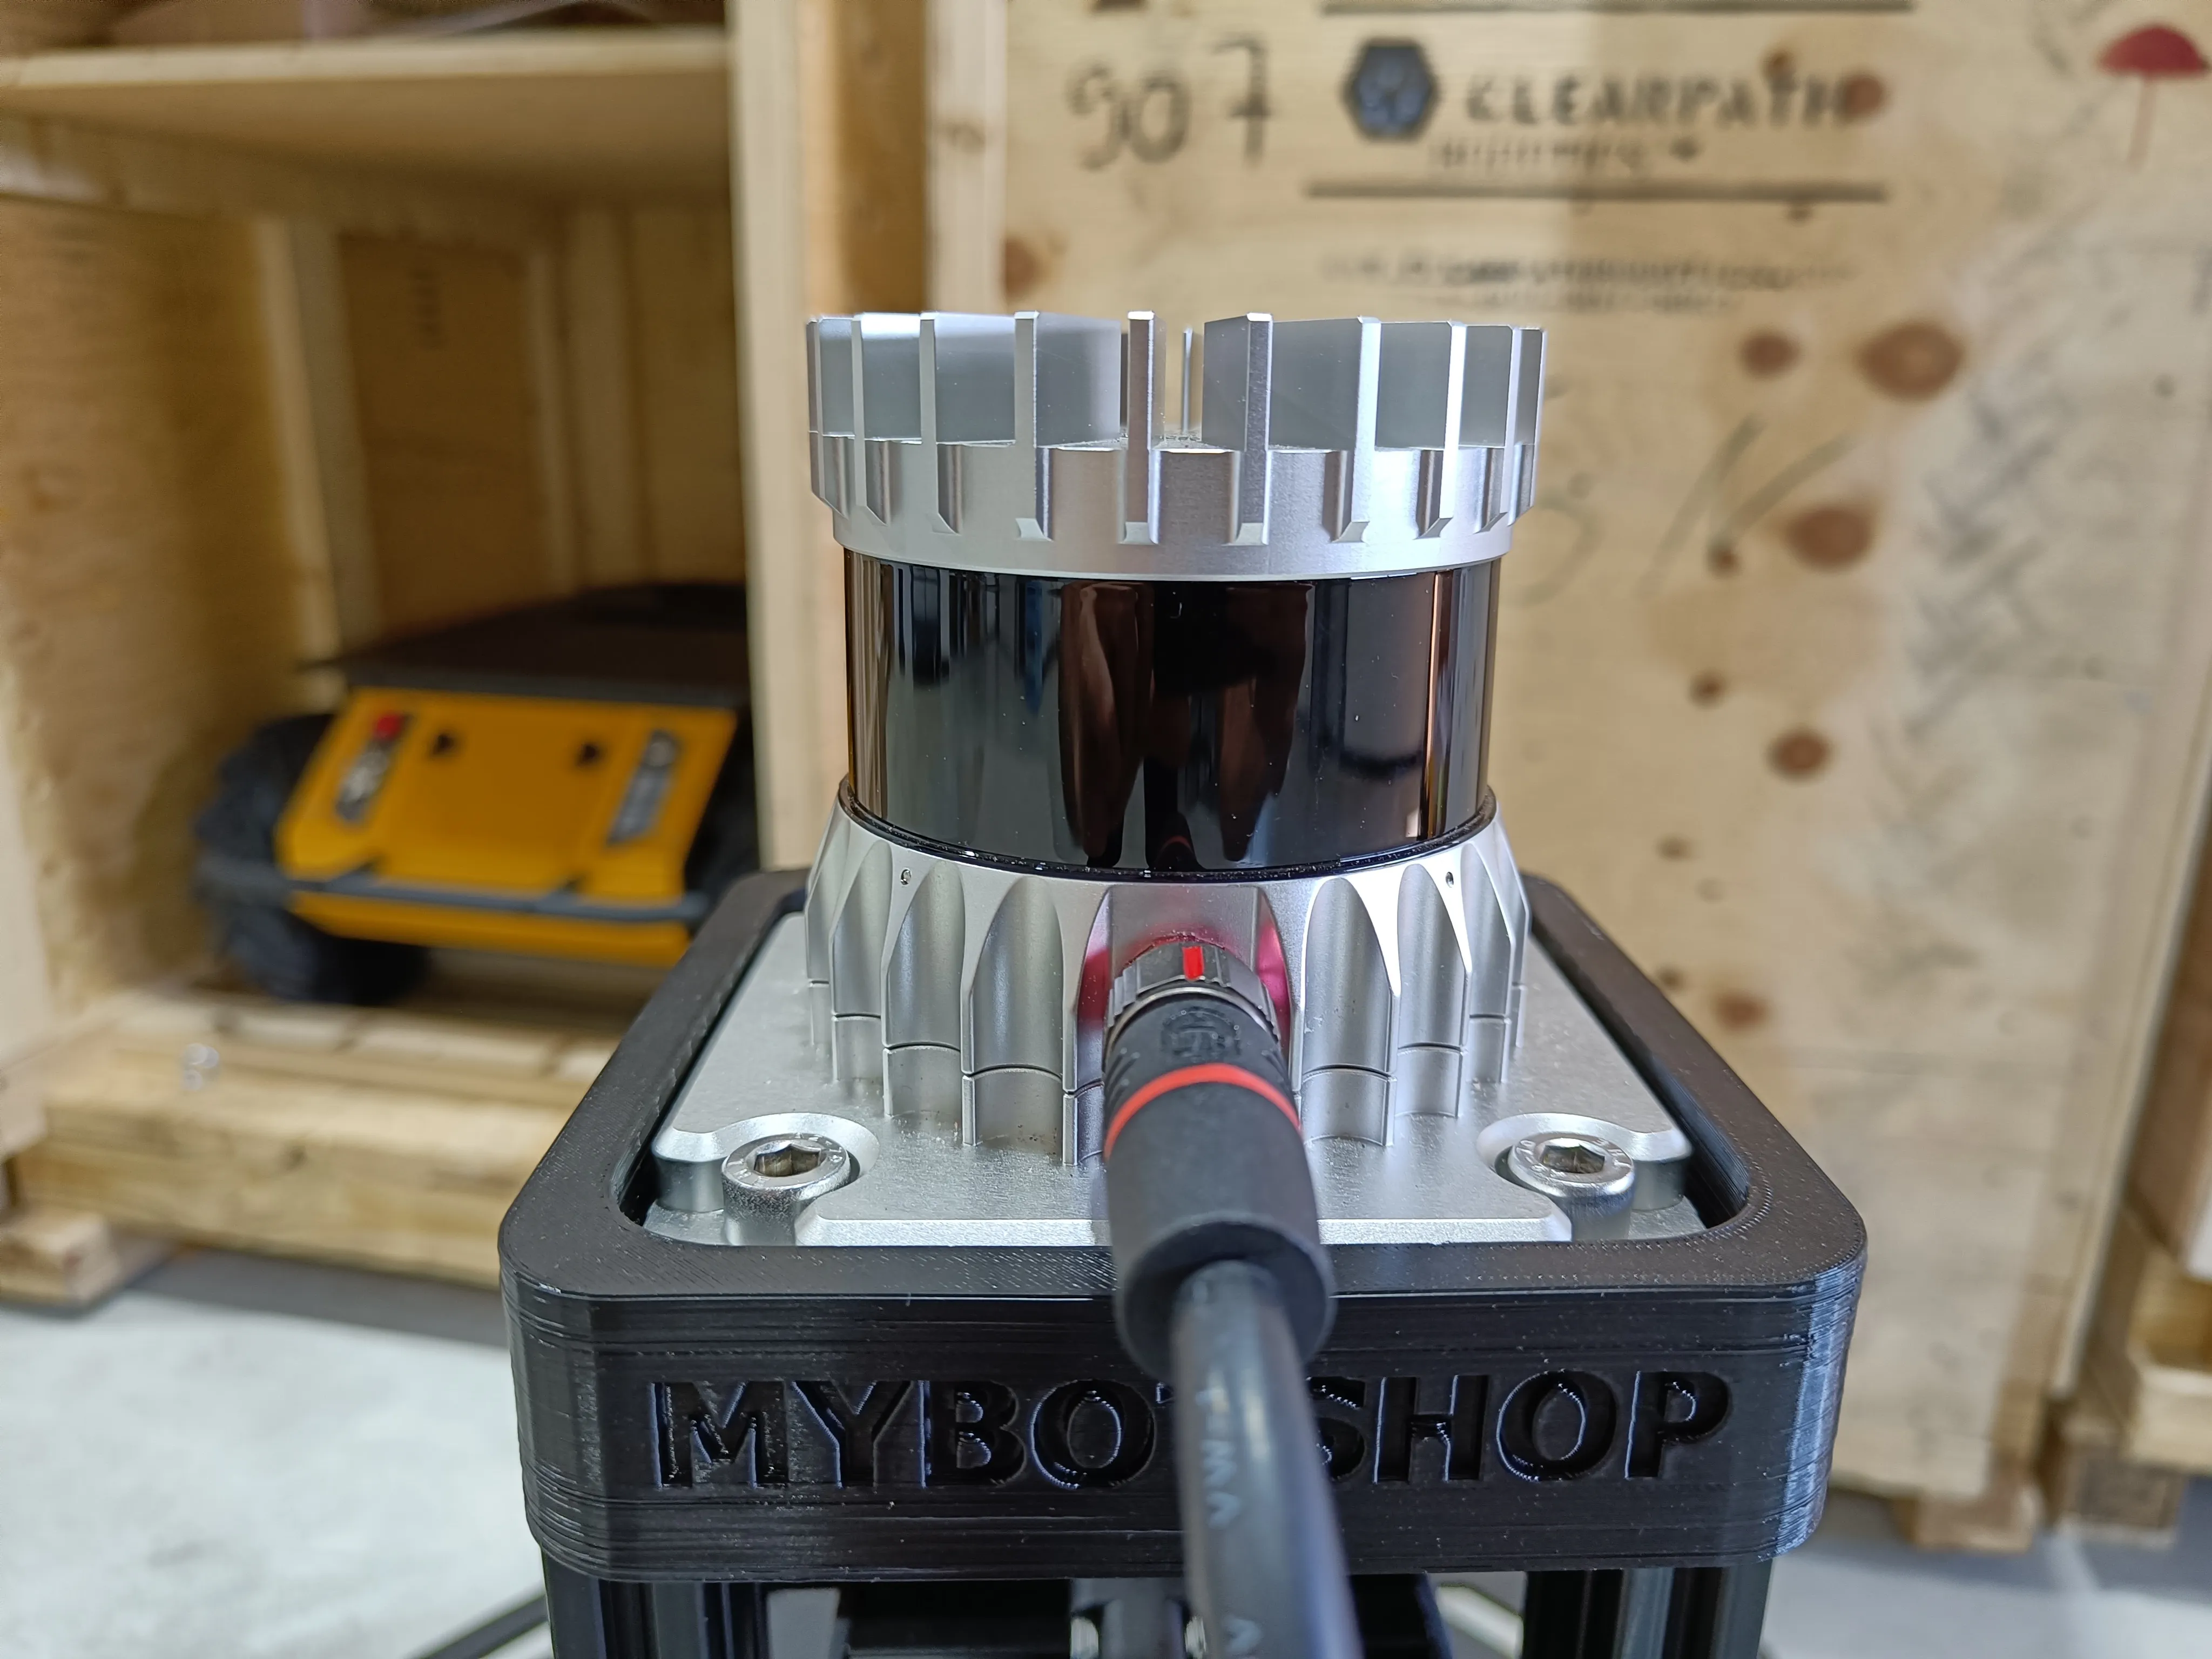
To manually launch the ouster driver, the following command can be used:
roslaunch mbs_ouster ouster.launch
ZED2i
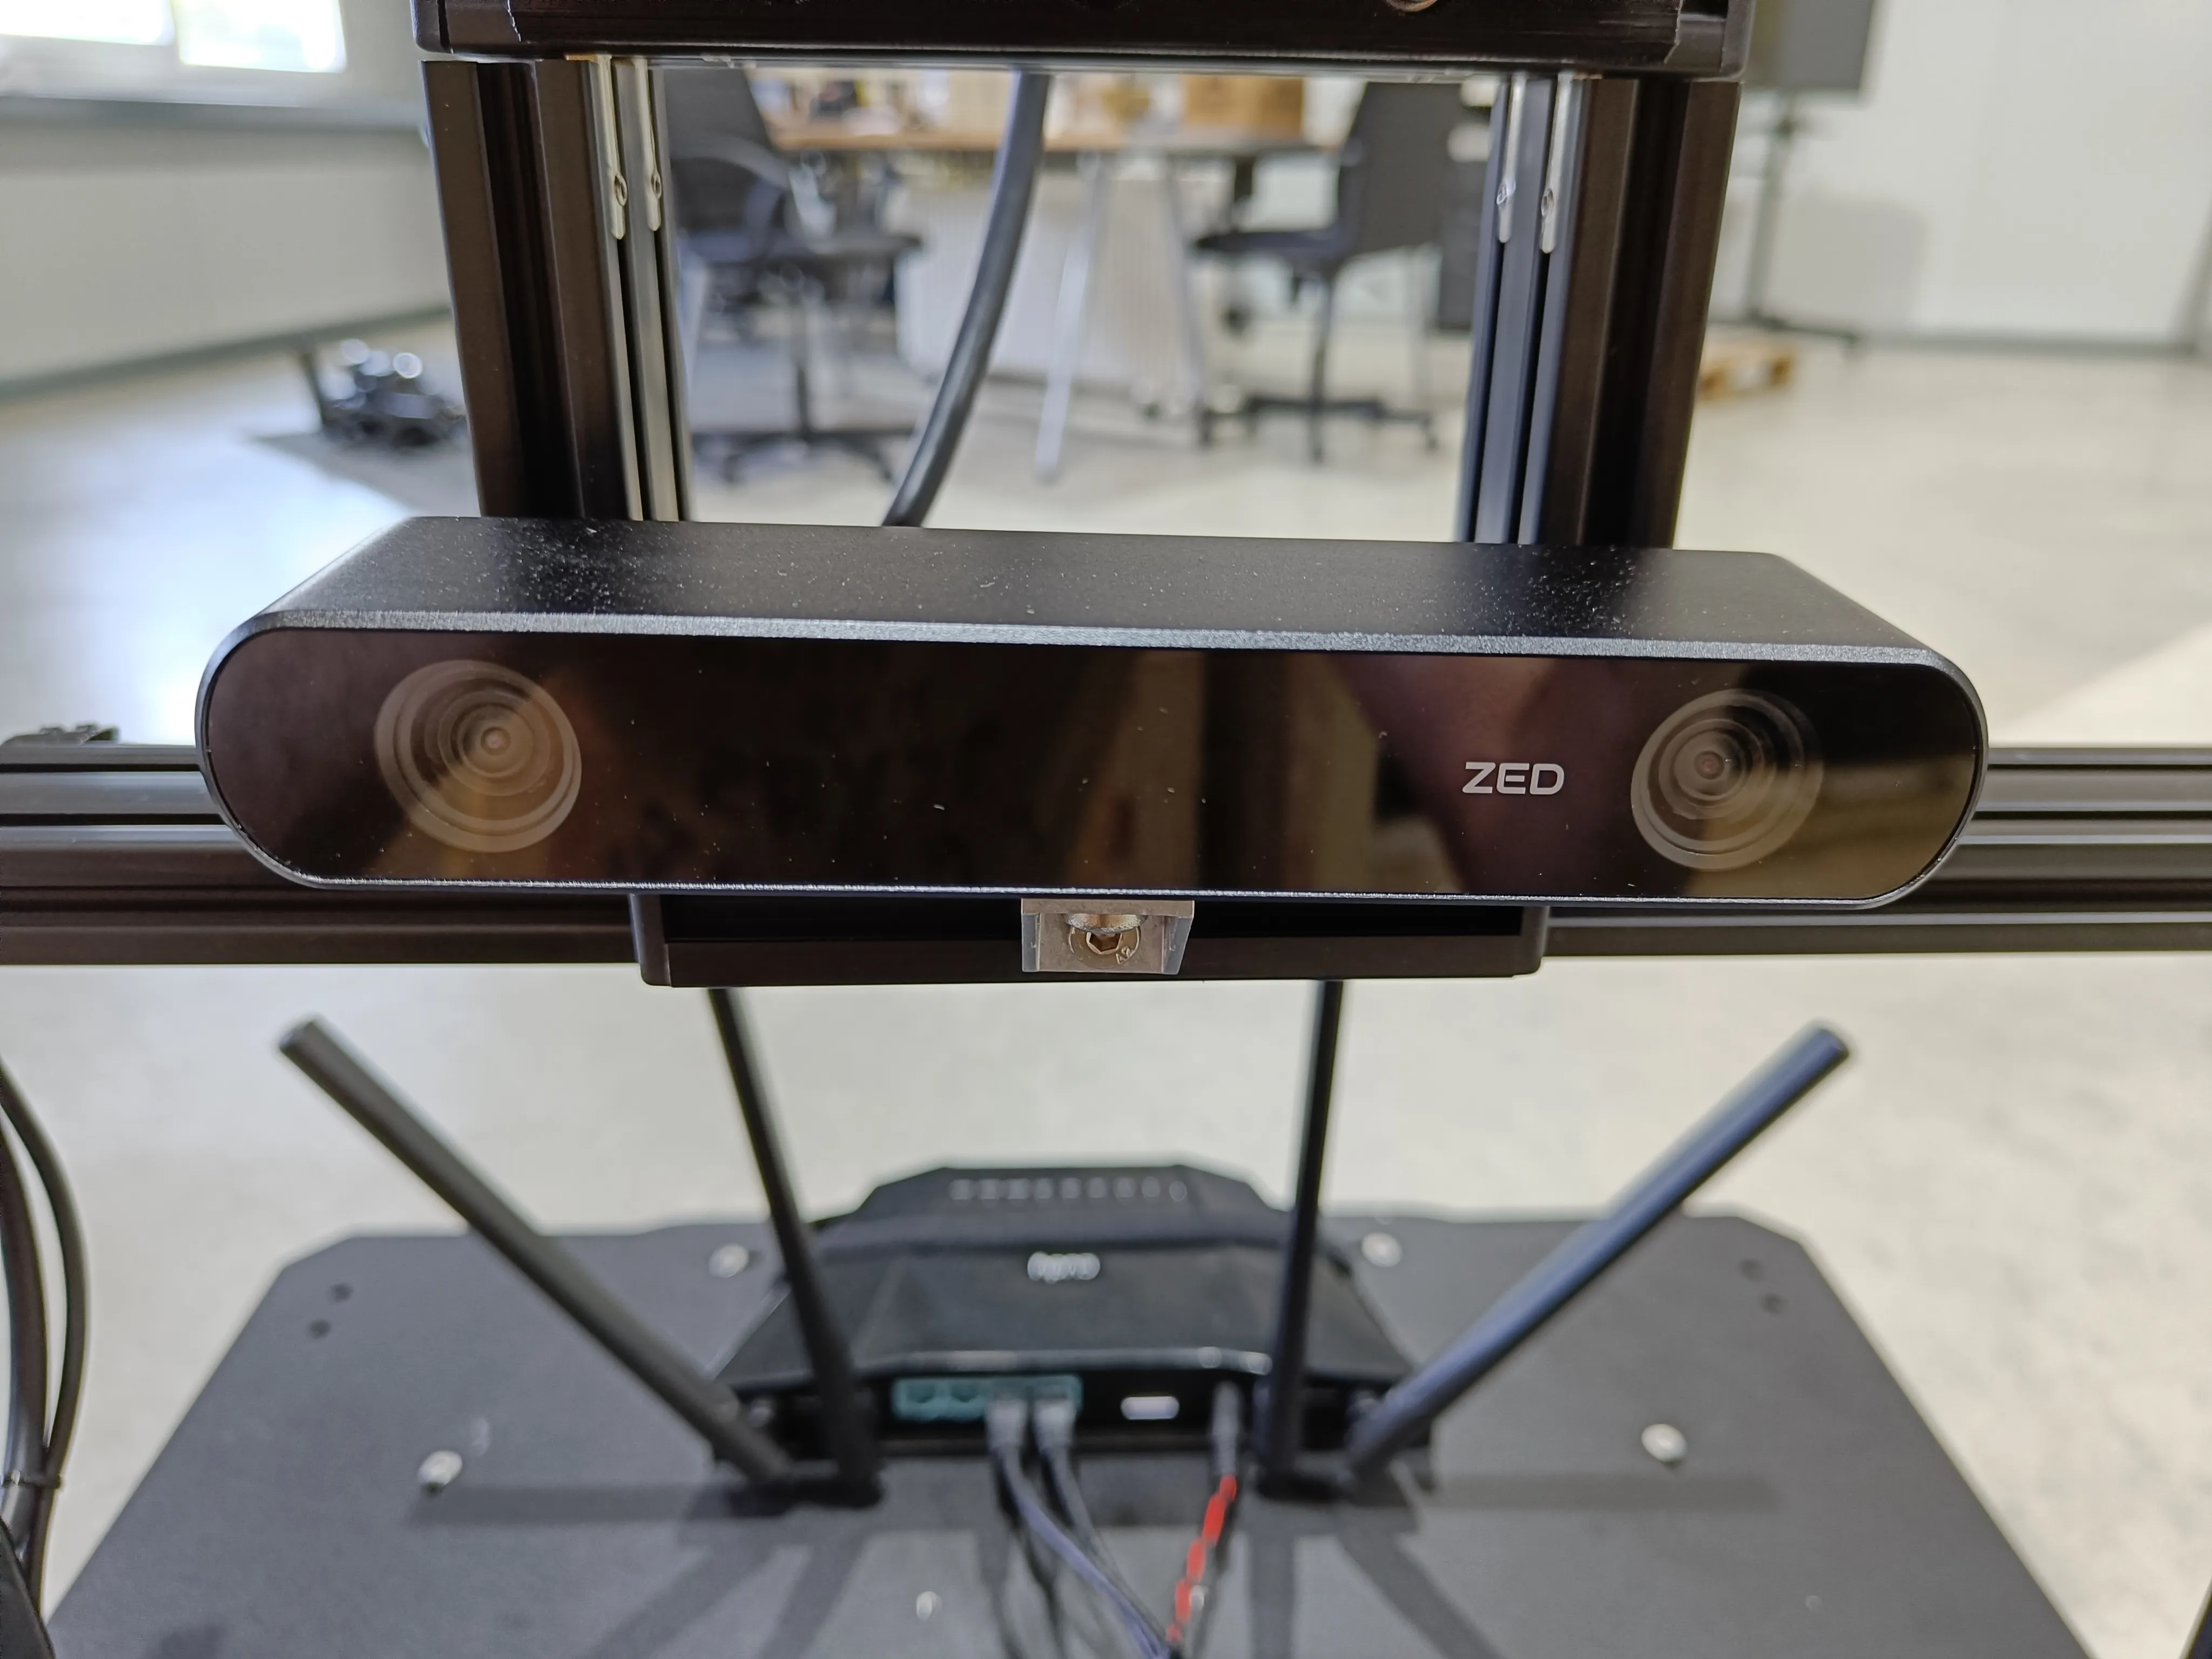
On the robot start-up the ZED2i camera automatically starts and all its information is published to Husky’s main PC. The information can be verified via:
rostopic list
It may take upto a minute for all the drivers of the Nvidia to start.
The main purpose of the Nvidia is to enable the CUDA for ZED2.
The stream for the ZED2 is transferred over to the main Husky PC via ROS multi machine.
An example stream can be viewed rostopic echo /zed2/zed2_node/rgb/image_rect_color.
Important
The ZED2i requires USB 3.0 port and in the installed Nvidia board there is one available USB 3.0 port. So incase of removal please plug in the ZED2i into the same initial port it was in.
EMLID
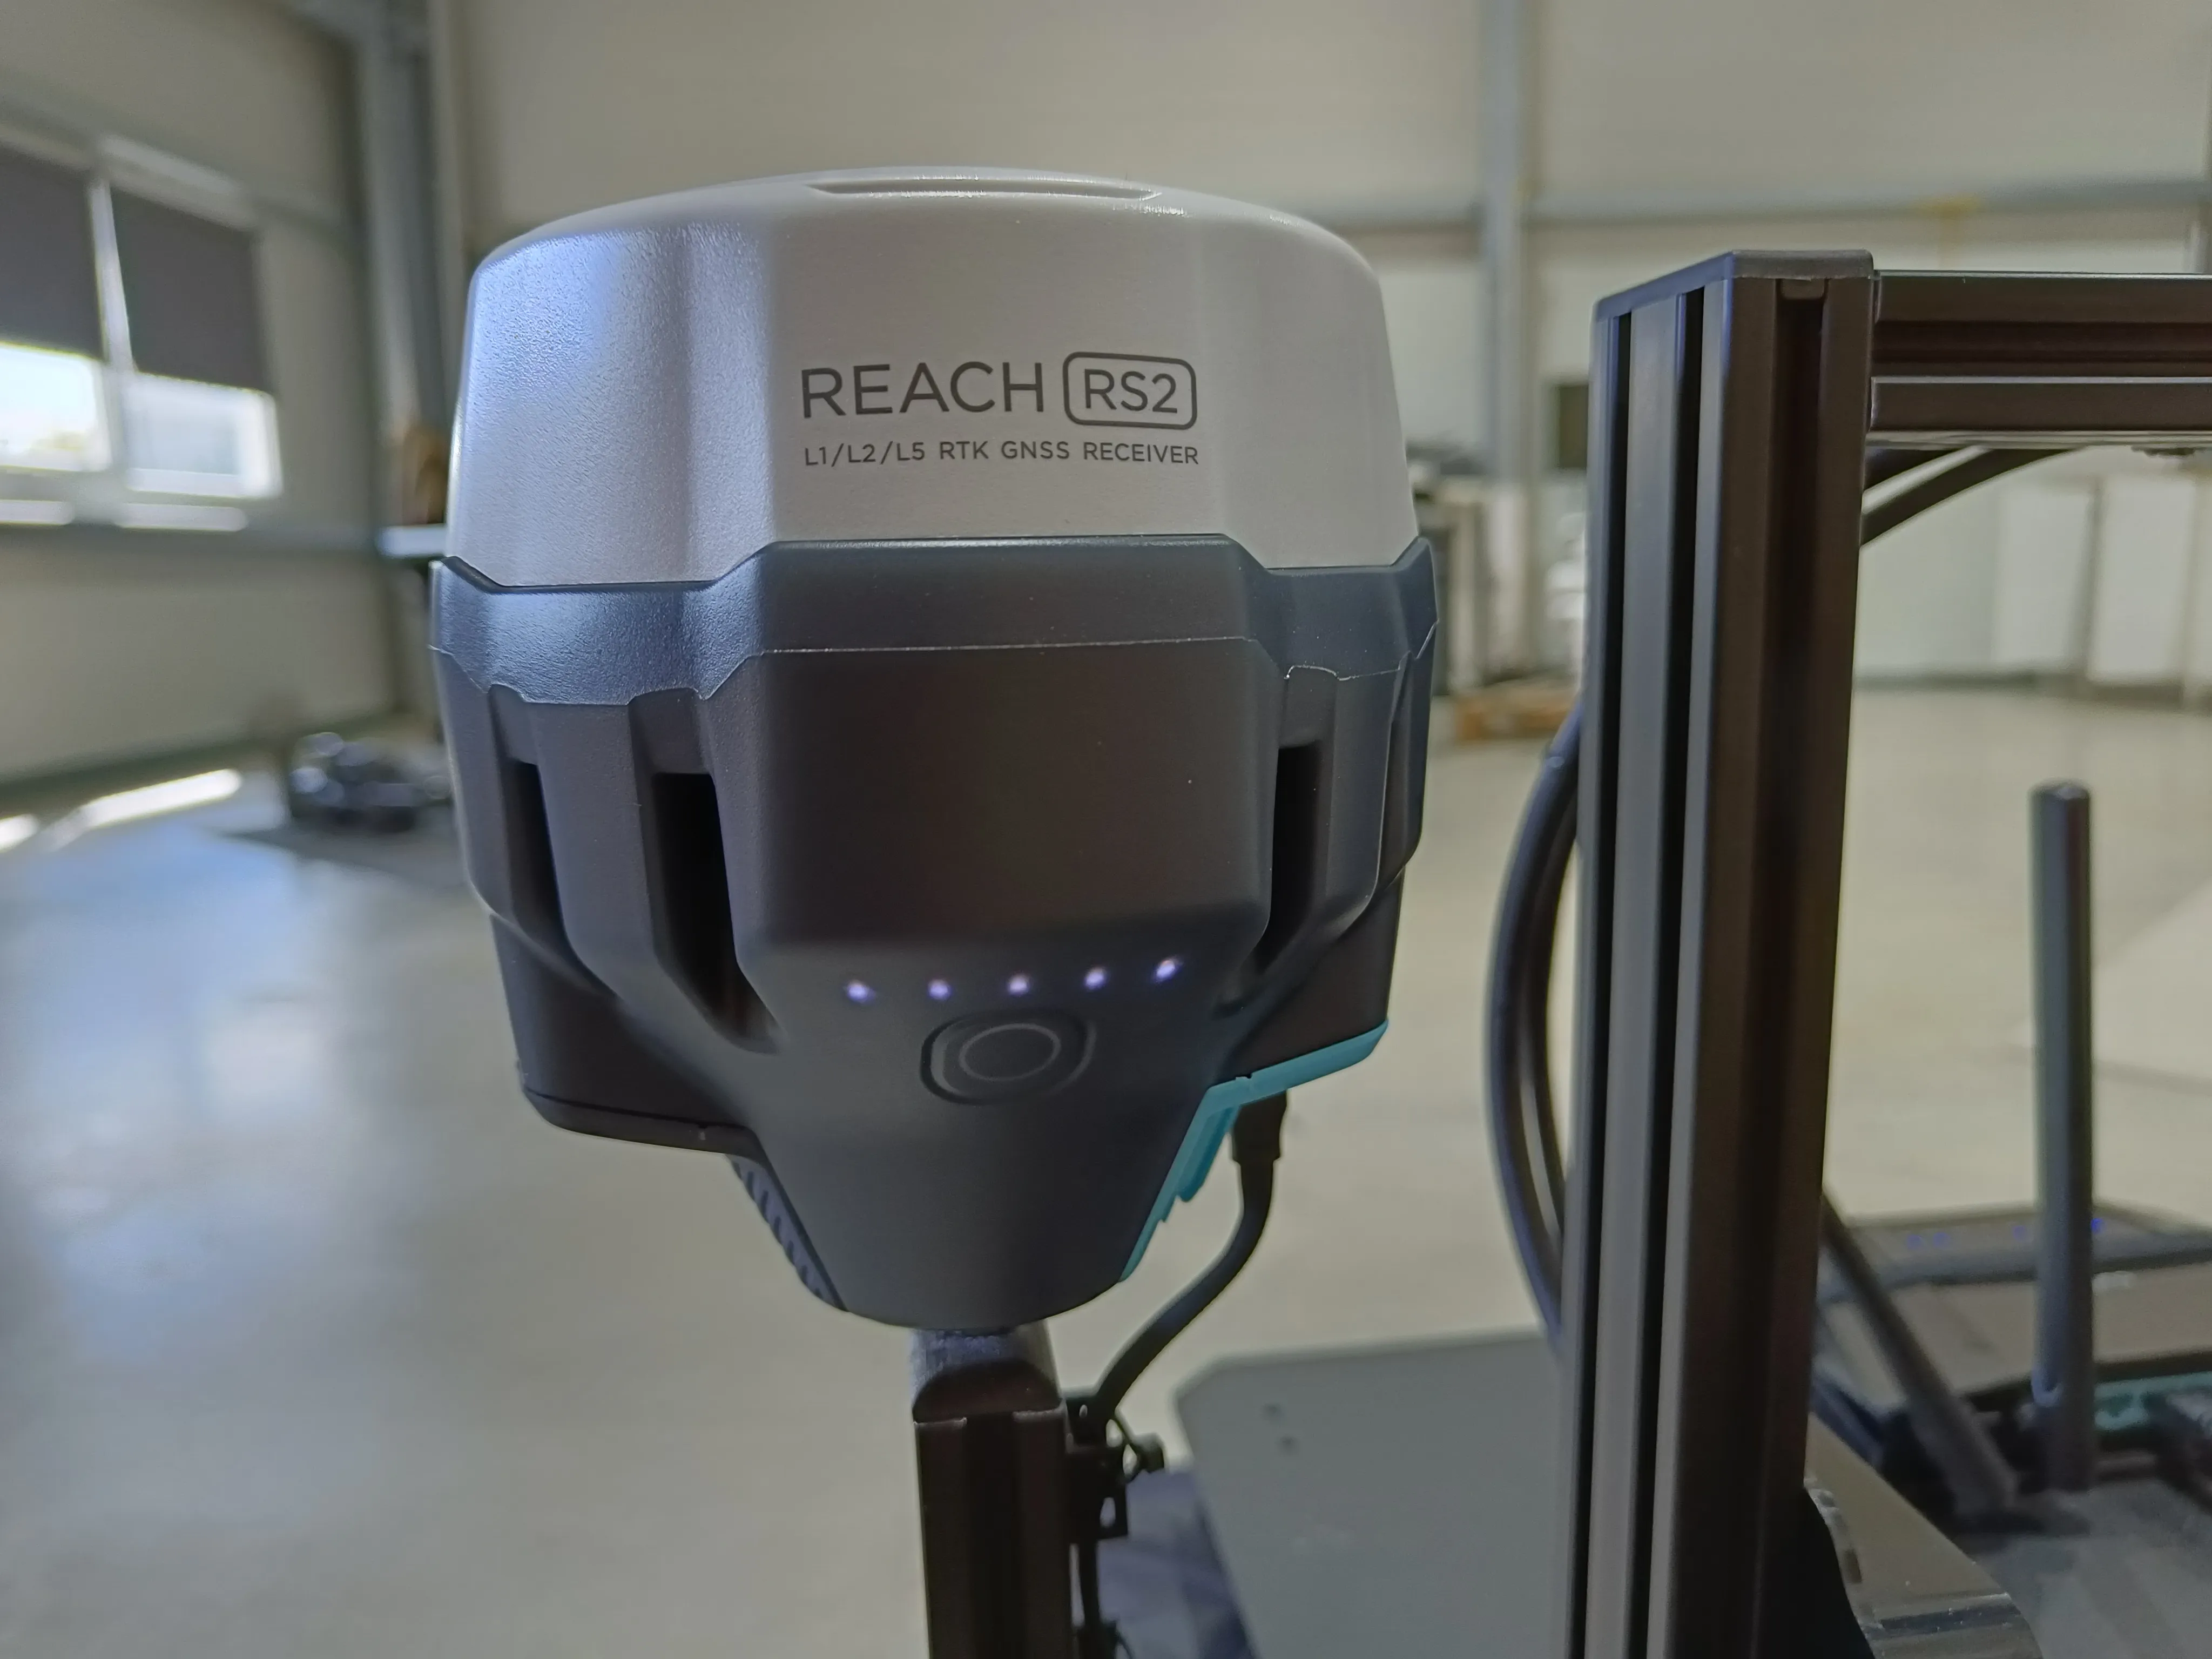
To start the Emlid Reach RS2 driver separately, run:
roslaunch mbs_utilities reach_rs.launch
Power Relay

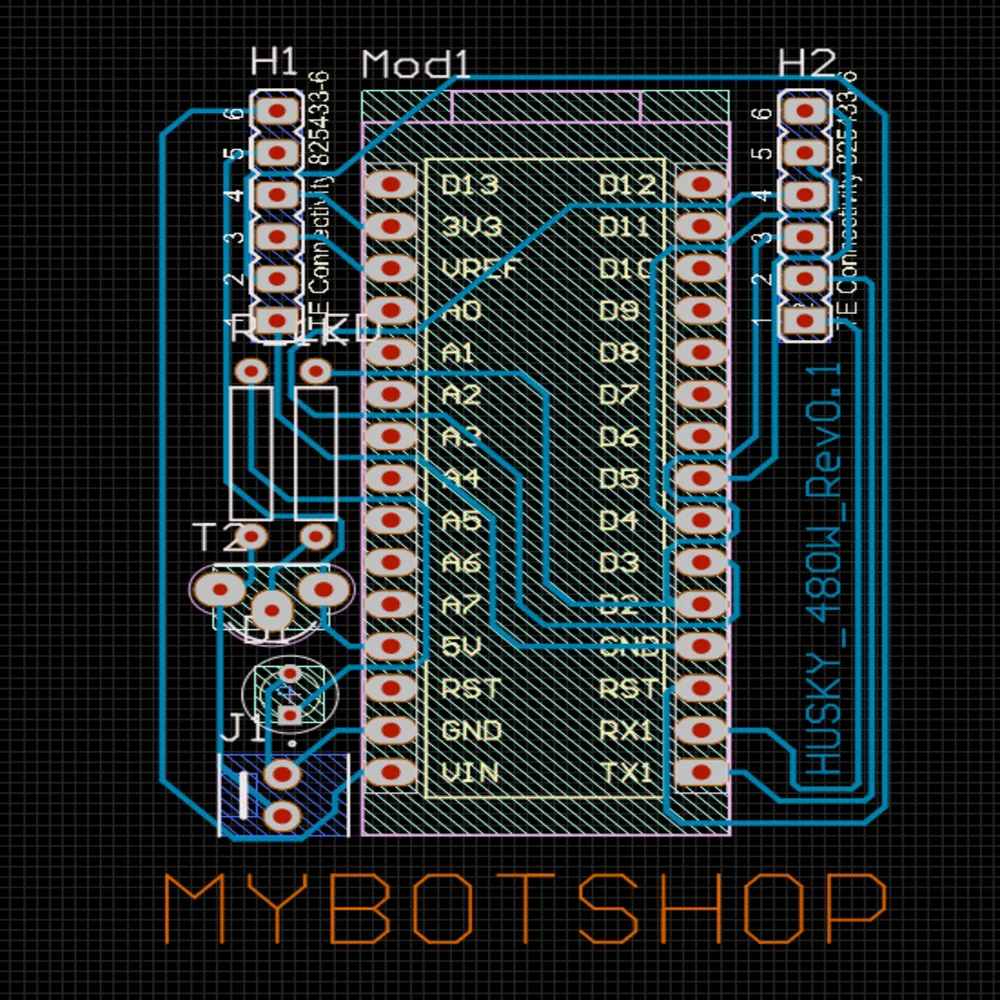
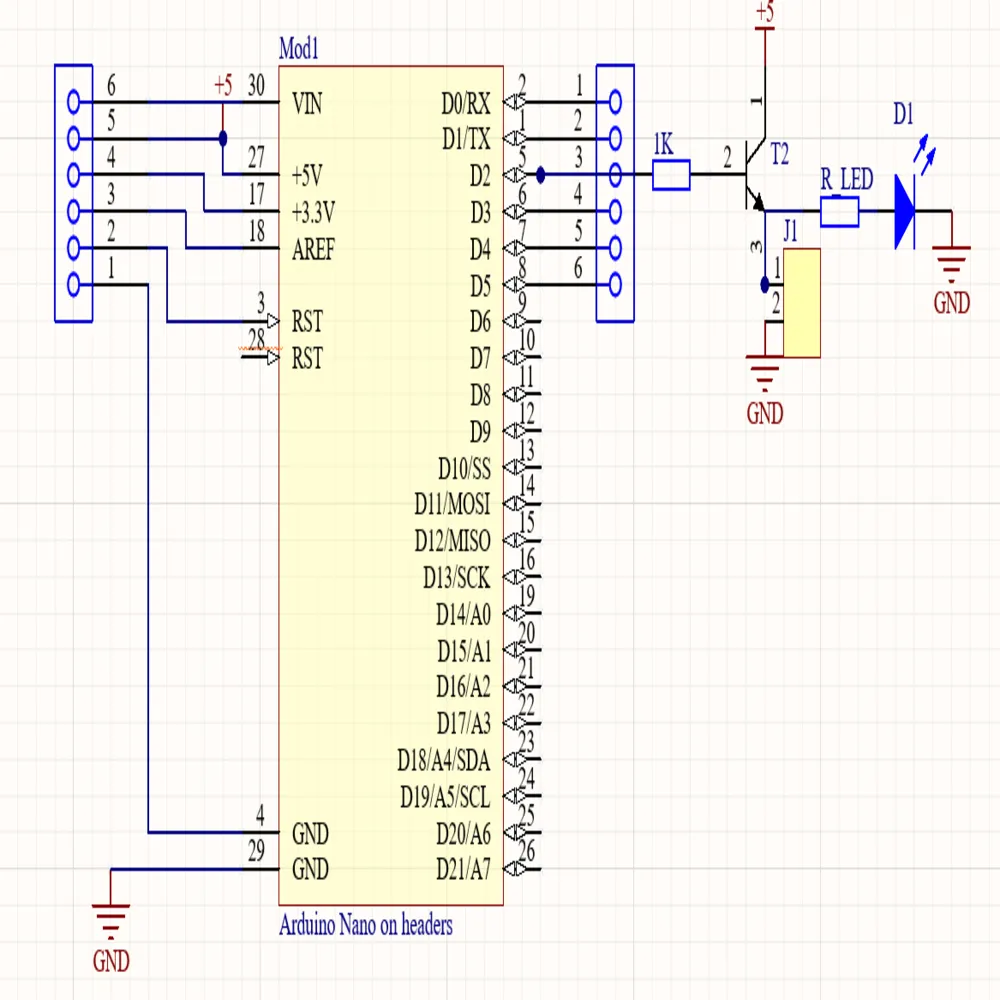
The Arduino is activating the 24V DC battery power on the XT60 connector.
A 20amps fuse ensures that the cables and the installed electronics are not damaged.
The voltage applied to the XT60
connector can vary depending on the battery capacity, since no voltage converter or
something similar is integrated. The Arduino is connected to the /dev/ttyUSB0 port.
Warning
The Red/Black 2,5mm2 cable inside the HUSKY, which is going to
the 24V External Power Control Box" is always live as the battery
power is continuously supplied.
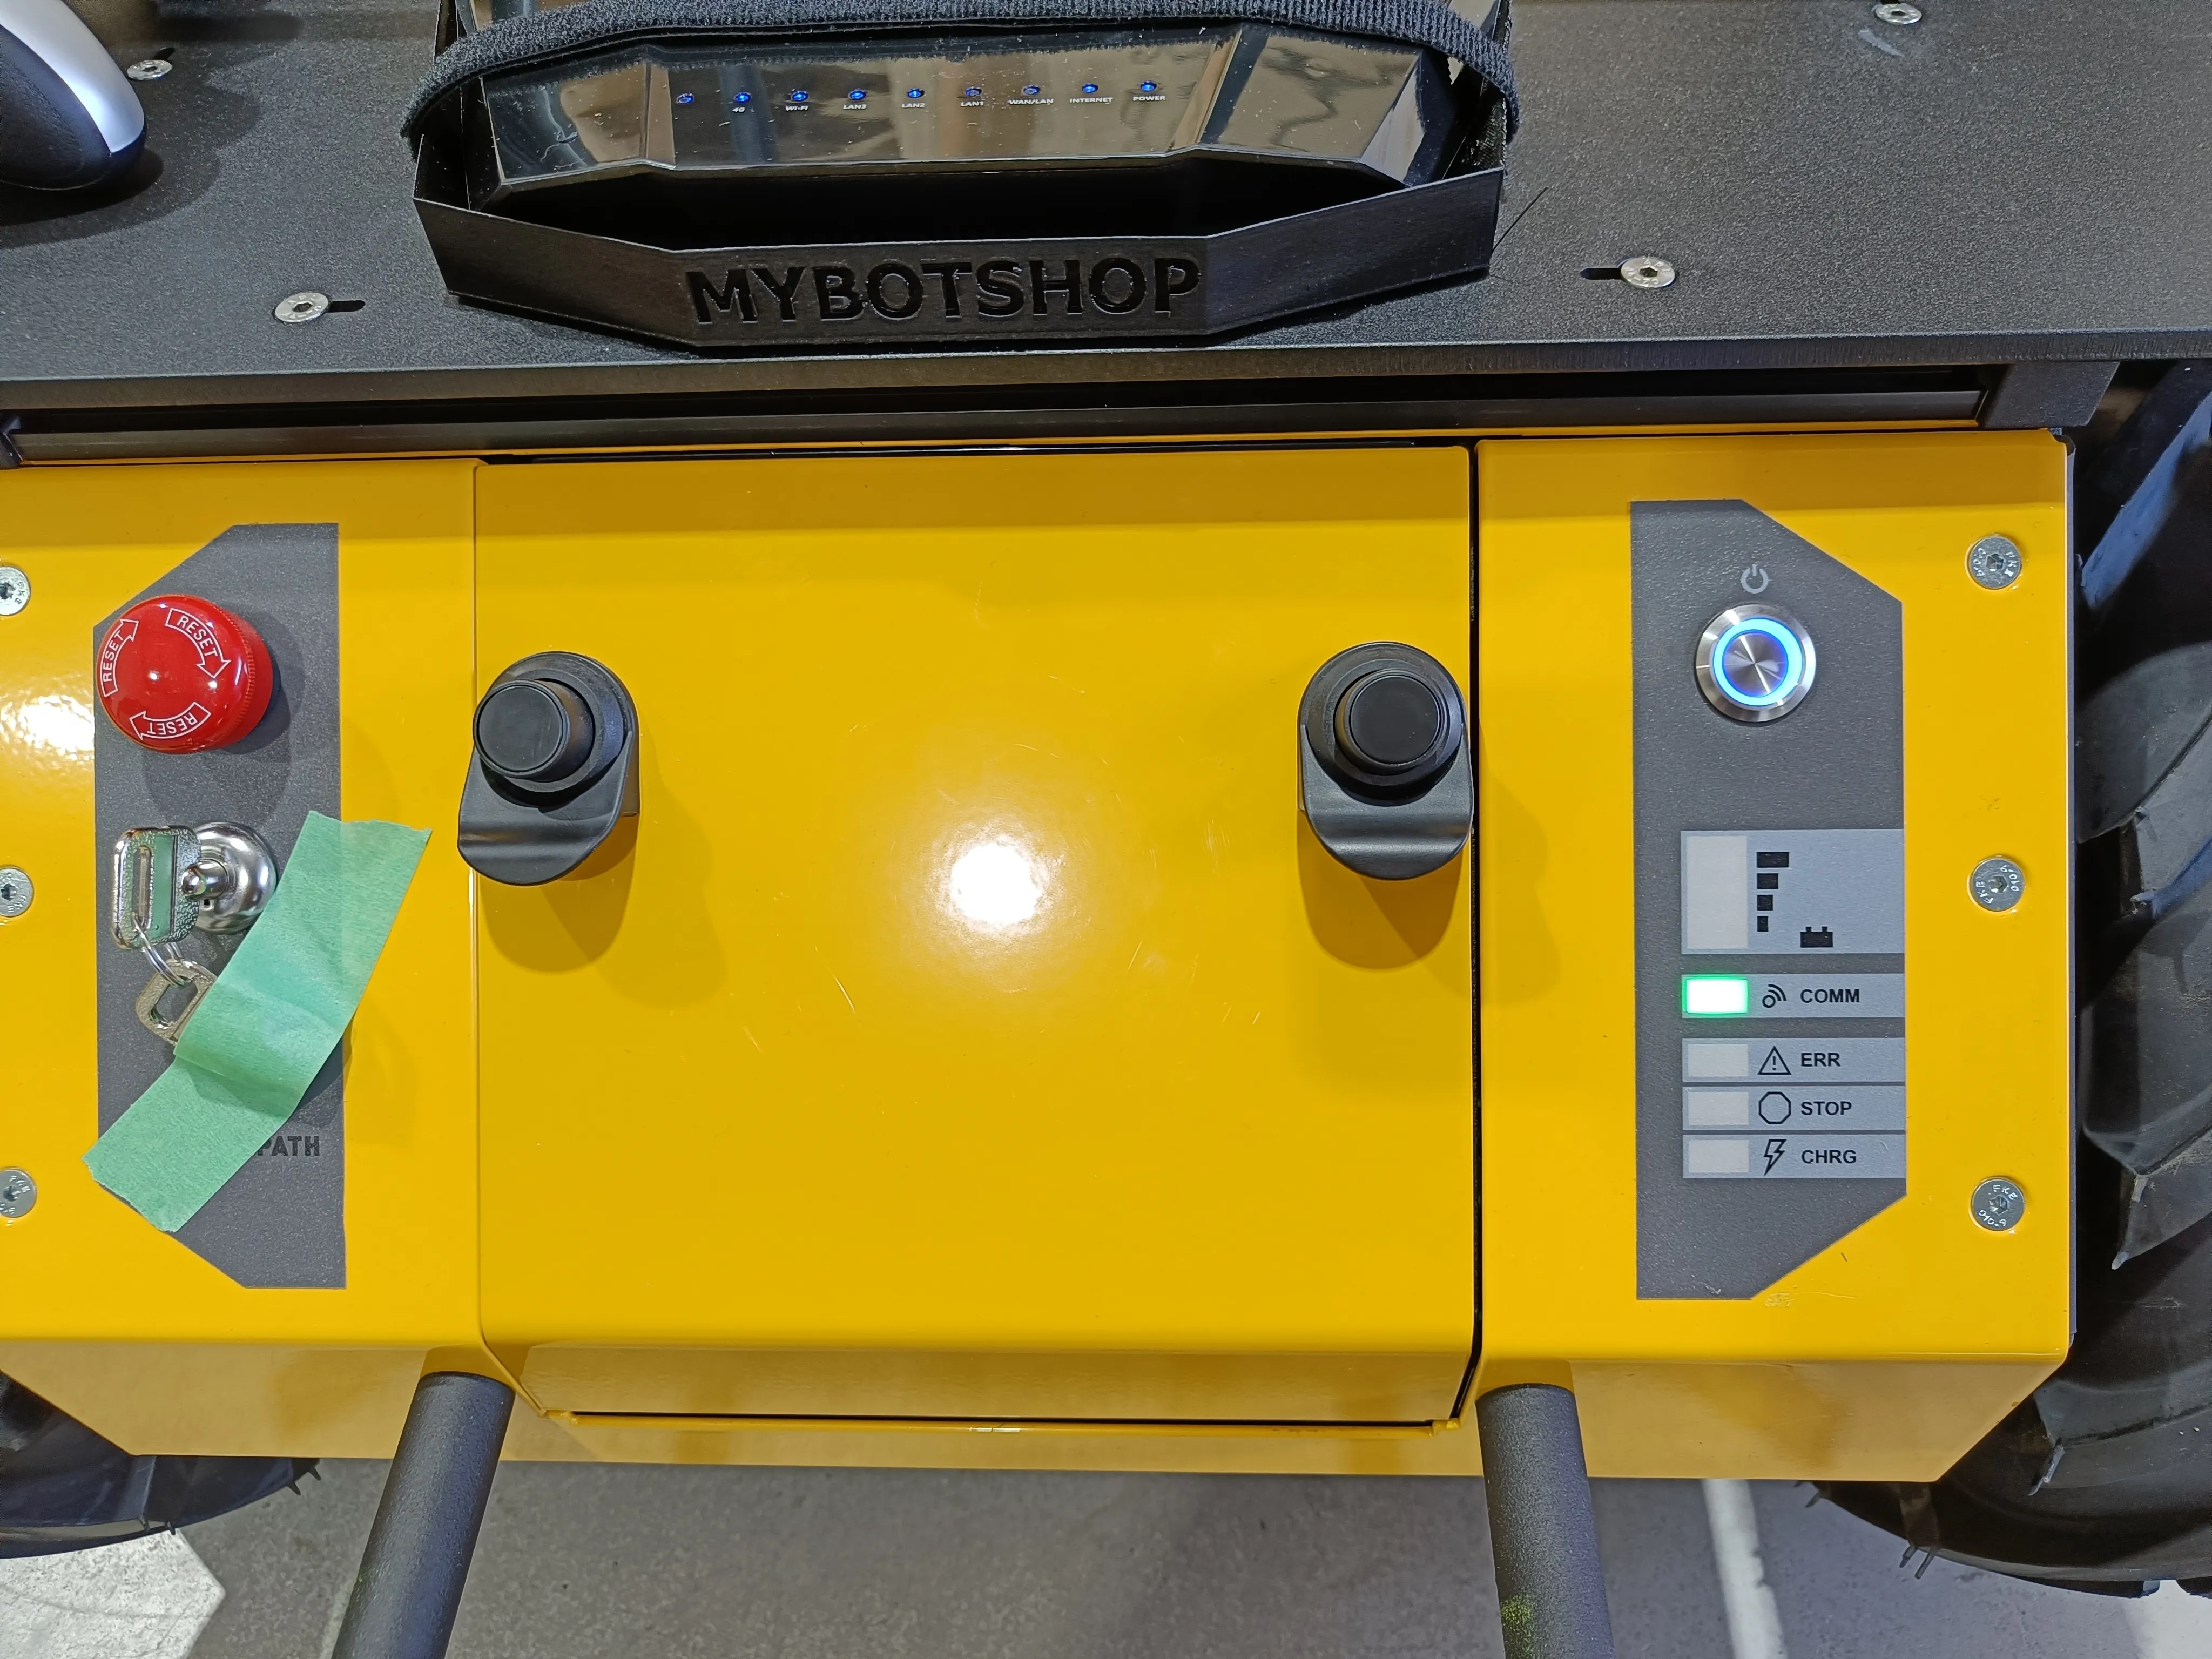
When the robot starts, an Arduino starts which controls a power relay via the main PC in the husky. A startup script starts the communication between the Arduino and the main PC in the husky. To check the status of this module, the following steps are to be performed:
We can check the status of the power-relay node via:
sudo service mbs_husky status
If the icon is green, it means that the packages have started without any issues.
In the event of an error, you may restart this startup job via:
sudo service mbs_husky restart
Turn on the relay, run the command:
rosservice call /set_power_status "data: true"
Turn off the relay, run the command:
rosservice call /set_power_status "data: false"
Attention
An audible click can be heard of the switching relay.