Jackal PTB
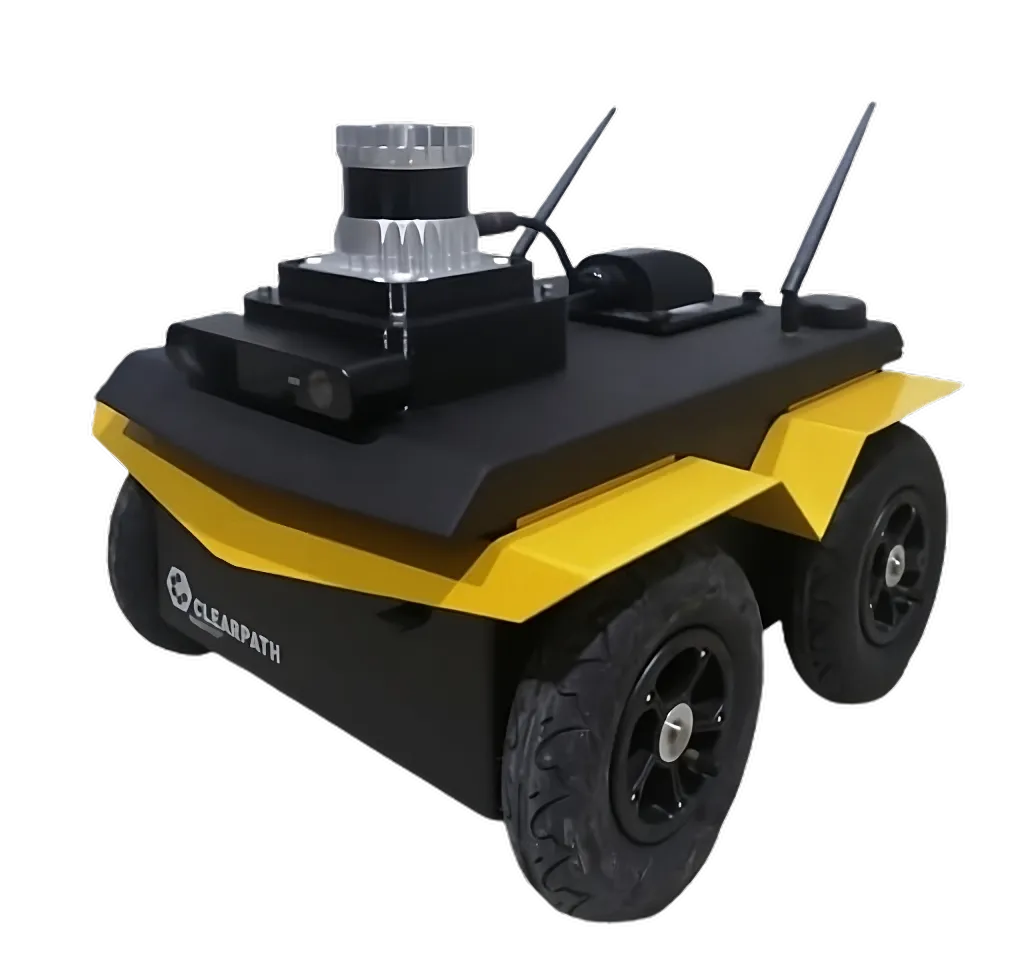
Table of Contents
This specifies the configuration for Jackal PTB. It has an NVIDIA 1650, Ouster & ZED2i.
Getting Started
To setup-up the Jackal, the instructional video playlist can be used which details the opening and use of the Jackal.
Data Sheets
Documentations
Quick Start
The Jackal is powered on using the designated power button, and when starting up with the Ouster and Zed2, it might take up to a minute to initiate.
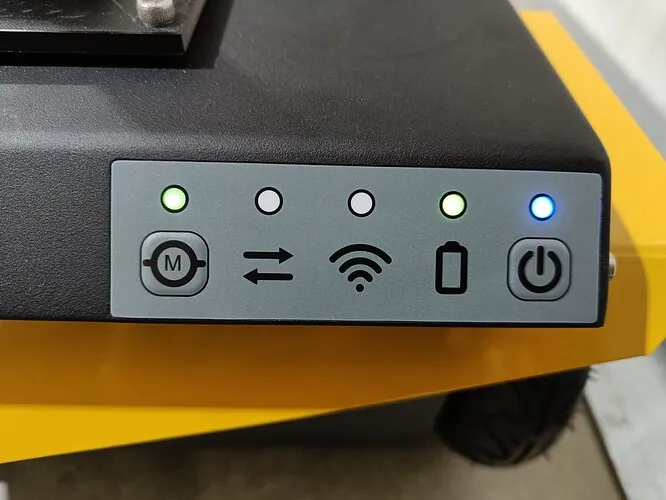
Upon successful initiation, the green light on the MCU signifies the system’s activation, while the directional arrows indicate its readiness to receive commands from the onboard PC.
In certain Jackal configurations, auxiliary sensor software drivers, like LiDAR, may commence during startup. However, if there’s a disconnection or damage to the sensor’s wiring, this can hinder the robot’s startup process.
For remote software connection, initial access to configure the WiFi network is necessary. This configuration can be achieved through two methods: either via a static network connection or through the screen. The screen method is often preferred due to its efficiency and user-friendliness, making it quicker for clients to set up.
Auxiliary Sensor Startup
On Jackal startup the following driver is started:
Jackal base driver
The Ouster and ZED2i sensors are powered on, but the driver must be initiated manually (automation details provided in the Custom Startup Job) to ensure a swift startup of the Jackal base driver.
Both ZED2i and Ouster driver run when the following commands are run:
roslaunch jkl_sensors.launch
Network-Setup
The Jackal PTB has multiple networks and vary slightly, the following table shows the networks.
Device |
Network Address |
Users/Name |
Password |
|---|---|---|---|
Jackal |
192.168.131.1 |
administrator |
mybotshop |
Ouster |
192.168.131.20 |
N/A |
N/A |
Operation
To use the waypoint navigation and drivers, the following steps must be followed:
Initial Configuration of Jackal’s WLAN Network
To set up the robot’s WLAN network for the first time, follow these steps using a LAN cable connection:
On your own PC (not the Jackal), navigate in Ubuntu to Settings → Network. Click on the
+to create a new connection.Under IPv4, switch the connection to manual.
Enter the following settings:
Address: 192.168.131.1 (may vary for different robots)
Netmask: 24
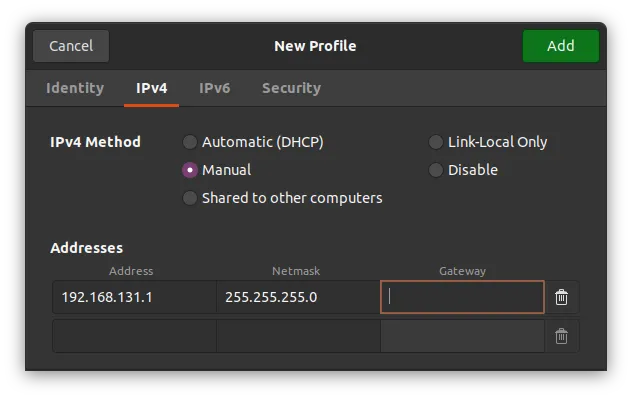
Save these settings and restart your network. Then, open the Jackal as shown and connect the LAN cable to the robot.
Once connected, determine the host’s local IP by entering the following command in the Host PC’s terminal:
This command should display the host IP assigned in the previous step. Next, check if you can ping the robot from your host PC:
After a successful ping, you can access the robot by using the following command:
The password required is:
Note
Some Jackals use default DHCP connections. In such cases, you can either follow the alternative connection method mentioned below or skip setting up a static connection. Instead, run the command nmap -sP 192.168.0.*. This command scans available networks within the .0 range. Once you identify the Jackal’s network, you can connect via SSH.
The following message will show up with quick instructions for startup.
-------------------------------------------------------------------------------
     _  _  _  _  ____   __  ____  ____  _  _   __  ____
    ( \/ )( \/ )(  _ \ /  \(_  _)/ ___)/ )( \ /  \(  _ \
    / \/ \ )  /  ) _ ((  O ) )(  \___ \) __ ((  O )) __/
    \_)(_/(__/  (____/ \__/ (__) (____/\_)(_/ \__/(__)

-------------------------------------------------------------------------------
Current PC: Nvidia
-------------------------------------------------------------------------------

Jackal IP:    192.168.131.1
Pswd:        mybotshop
SSH:         ssh -X administrator@192.168.131.1

ZED2i F IP: 192.168.131.20
ZED2i R IP: 192.168.131.21
Ouster IP:   192.168.131.23

Router IP:   192.168.131.100
Router Pswd: mybotshop
login:       admin
Pswd:        Admin123

-------------------------------------------------------------------------------
Jackal Startup
-------------------------------------------------------------------------------

jkl status:      sudo service jkl status
jkl start:       sudo service jkl start
jkl stop:        sudo service jkl stop
jkl restart:     sudo service jkl restart

Rviz:             roslaunch jkl_viz view_robot.launch
Ouster + ZED2i:  roslaunch jkl_startup lidars.launch   (Default off)
SLAM:             roslaunch jkl_navigation slam.launch.py
Map Navi:         roslaunch jkl_navigation map_navi.launch.py
Odom Navi:        roslaunch jkl_navigation odom_navi.launch.py

Rebuild package: catkin build --cmake-args -DCMAKE_BUILD_TYPE=Release
-------------------------------------------------------------------------------
Steamdeck
Steamdeck - Basic Controls
Power button is on the top of the Steamdeck with the power symbol.
R2 for mouse left-click
L2 for mouse right-click
Left trackpad for mouse scrolling
Right trackpad for mouse movement
L2+R2 for middle mouse button click
- - - (The 3 dashes is located on the top right of the Steamdeck next to the Y button) Hold for 3 seconds to gamepadmode and hold for 2 seconds again to go to desktop mode.
Switching to desktop mode activates the cursor for the trackpad as well.
Steamdeck Activation
Important
When launching the Joylauncher, do not touch any of the buttons until the steamdeck displays the robot is connected or not connected.
Ensure the Steamdeck is connected to the robot’s WiFi access point. Wait ~20 seconds after powering up.
This is automatically done!
Ensure the robot is powered on and operational.
Single tap the Joystick Launcher on the screen to activate the controller for the robot.
Do not open multiple instances of the joystick launchers, as this can cause zombie nodes to spawn.
Hold the - - - for 3 seconds until you sense vibration from the controller and then hold - - - for 3 seconds again. This is required to re-enable the mouse in the steamdeck.
Ascento Homing Procedure
Ensure the Ascento is flat on the ground.
Perform Homing of the Ascento wheels L2+Right (required only at first boot or if the Ascento eyes blink red)
Once homed, press L2+Up to stand up the robot.
Single tap the Rviz2 Launcher on the screen to visualize the robot.
Steamdeck - Termination
Single tap the ROS2 Clean to terminate all ROS2 instances only in the steamdeck (It does not effect the robot).
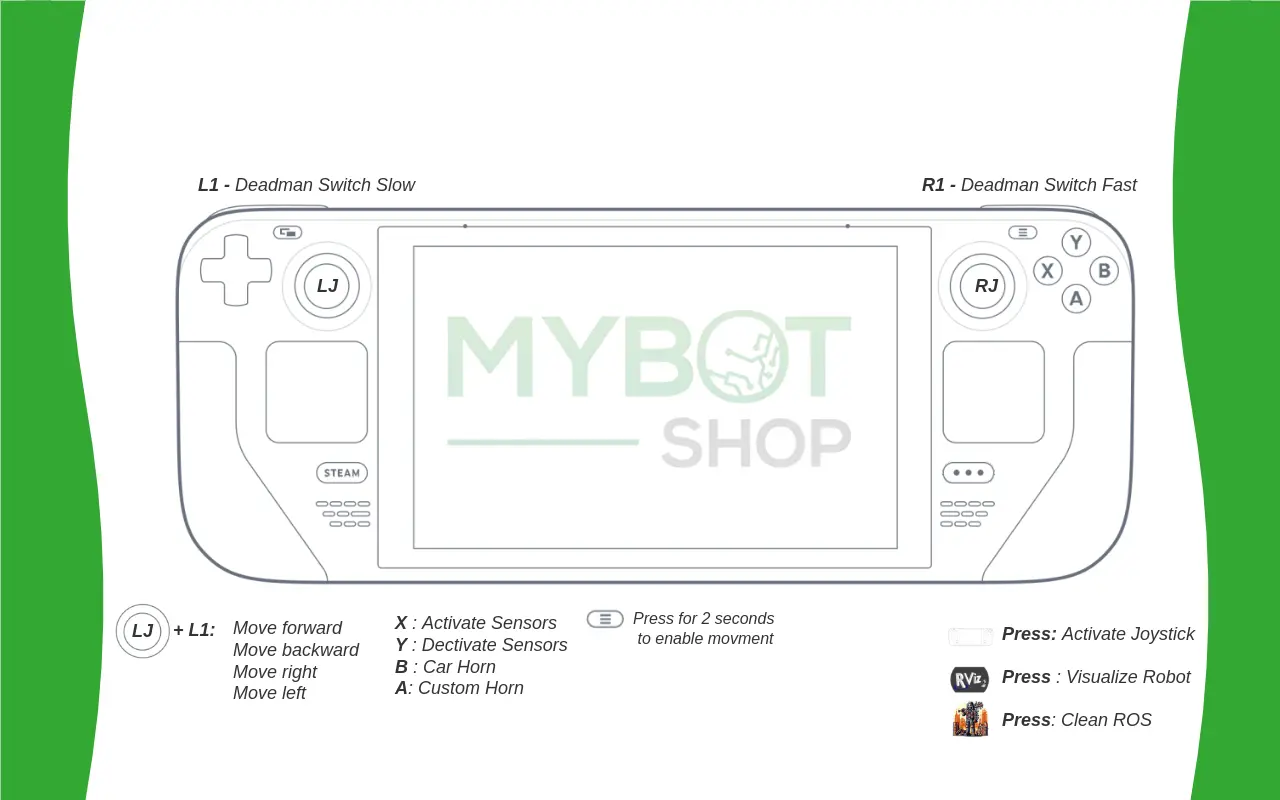
Steamdeck - Robot Controls
L1 is the dead man’s switch for slow speed.
R1 is the dead man’s switch for high speed.
LJ (Left Joystick) is to move in x and y direction.
Note
Loss of connection or (laggy connection) may lead to the robot moving and/or not stopping immediately. Caution should be taken when using the Steamdeck for the operation of the robot!
Steamdeck - Rviz2 Controls
Right trackpad is used as a mouse
Left trackpad can be moved up and down to zoom in and zoom out
L2+R2 should be held when wanting to move the orbit in the xy plane.
R2 should be held to orbit around the cursors origin
Jackal Screen Connection
Another way to connect to the Jackal involves using an HDMI cable along with a mouse and keyboard. This setup enables connecting the Jackal to your local WiFi network, allowing subsequent connections over WiFi.
To connect via this method, access your networks and add your WiFi. Then, in the terminal, type
Identify the IP starting with wl (e.g., wlps0). This is your WiFi’s IP. Use this IP to SSH into your robot:
Note
192.168.0.228 is an example. The actual IP is obtained from the ifconfig command.
Important
Please be aware to operate the Jackal with a fully charged battery; otherwise, low battery power may lead to the
reset of the WiFi due to insufficient power. In case of any errors, please execute sudo service jkl restart.
Start-up Job
By default, the Jackal utilizes the Clearpath startup job, unless specified otherwise. In case of any issues with the robot’s startup, SSH into the Jackal allows verification of the startup job’s status:
Red Marker: Indicates a failed startup job.
Green Marker: Indicates normal functioning.
Grey Marker: Indicates the service hasn’t started yet.
For red or grey markers, restarting the service can be attempted using:
The system_startup.launch launch file, located in jkl_startup, encompasses everything initiated at startup. This file can be modified to include additional nodes or launch files (e.g., custom packages). After adding your custom content to mbs_jackal.launch, execute the following script to update the startup job on the Jackal’s PC:
This script ensures the updated mbs_jackal.launch is used during the startup process.
Custom Startup Job
The launch file system_startup.launch within the catkin package jkl_startup encompasses everything launched at startup.
The startup job and its contents can be verified in the directory /etc/ros/noetic, where the original launch file will be copied.
Warning
Avoid creating multiple startup jobs with different launch files, as this may lead to system instability. It is recommended to have only one launch file that includes all the necessary components.
If the systems breaks at startup you can start debugging by:
roslaunch jkl_startup system_startup.launch
This will indicate the specific section of the launch file that is encountering errors. Alternatively, you can run each component individually from the launch file in separate terminals to identify and address any issues.
Adding ROS-Nodes & Launch Files to Robot Startup
Navigate and open
jkl_startup/launch/system_startup.launch.
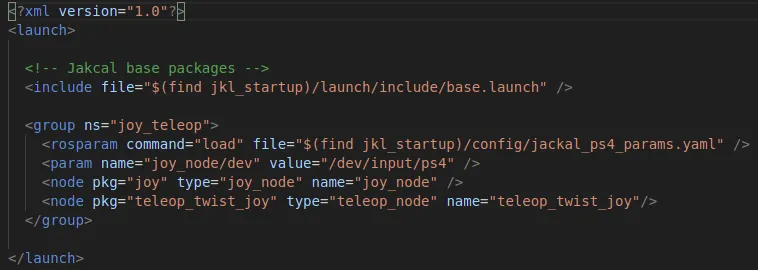
Include your custom ROS node or launch file. Please note that the image may differ, but the procedure remains the same.
Attention
An optional step is to launch the file to test if everything is working via: roslaunch jkl_startup system_startup.launch
Run the following script:
rosrun jkl_startup startup_installer.py
Verify if it is working correctly via:
sudo service jkl status
Important
After incorporating your custom node or launch files into the system_startup.launch, execute the command
rosrun jkl_startup startup_installer.py to ensure the startup job on the Jackal’s PC is updated; otherwise, it will not be applied.
Ouster
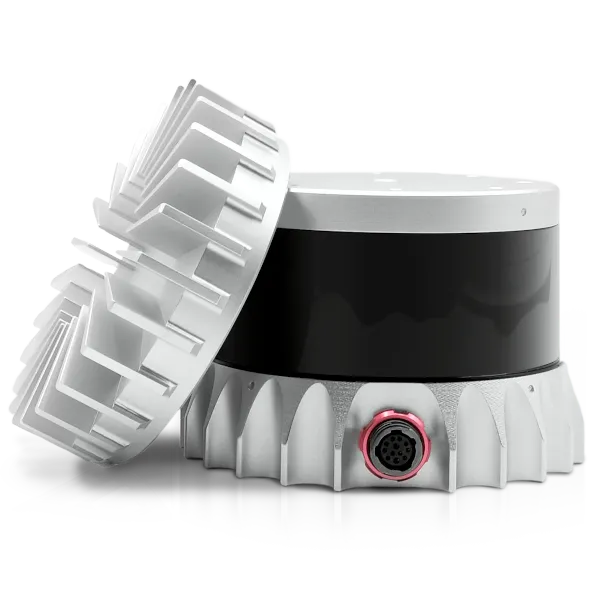
To manually launch the ouster driver, the following command can be used:
roslaunch jkl_sensors sensor.launch
ZED2i
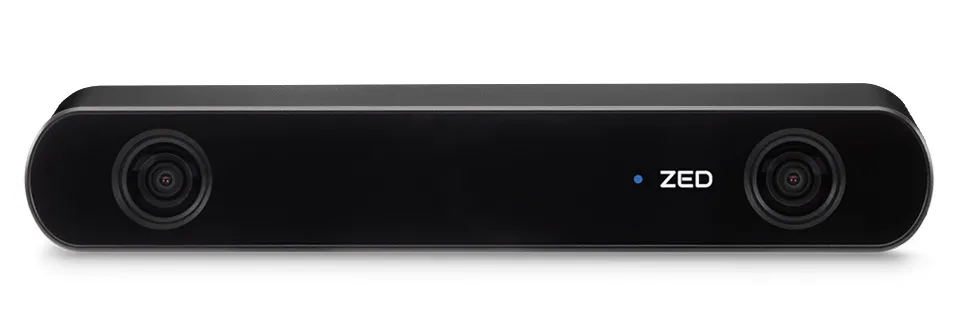
The ZED2 camera utilizes an onboard Nvidia Graphics card. Drivers are typically built and provided within the third_party section in the ros_ws. Depending on the ZED2 camera version, launch the appropriate command:
roslaunch zed_wrapper zed2.launch
roslaunch zed_wrapper zed2i.launch
roslaunch zed_wrapper zed_no_tf.launch
Note
Ensure the camera is connected via USB3.0. If disconnected, reattach it; otherwise, the camera may not be detected.
Note
The ZED2i and Ouster lidar drivers are not launched automatically with the “odom_navigation” and “gps_navigation” launch files. Therefore, you must manually launch the lidar drivers first.
Autonomous Navigation
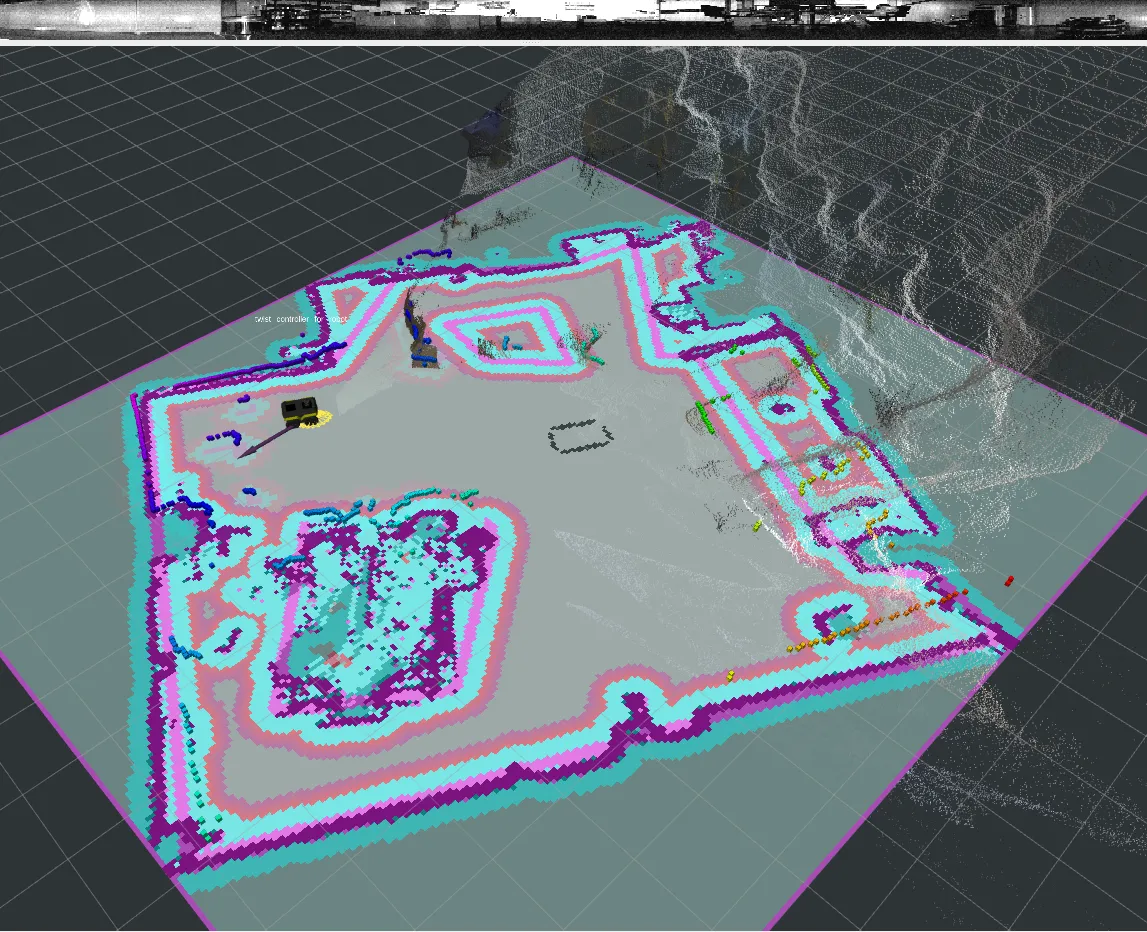
Usage on same network with Google Chrome
Get server PCs IP i.e. pc that is running the demo which in our case is Jackal
ifconfig
now on your pc go to that address(server pc)
https://(Server IP):8765
It will show as a unsafe page,click advanced and accept the vulnerability for the communication to be established
Goto goxglove webpage on google chrome.
Insert the address
wss://192.168.0.45:8765
After this you should be able to visualize and navigate the robot using foxglove web tool.
studio.foxglove.dev
Insert the address
wss://192.168.0.45:8765
After this you should be able to visualize and navigate the robot using foxglove web tool.