Augments
Rovo can be upgraded with different sensros and some other accessories. These upgradations require some modifications in the robot software which is detailed below.
Ouster Installation [Legacy]
Attention
The Ouster organization have updated their installation method. This procedure in no longer valid for the latest Ouster drivers. Please follow the instructions for installation in the Ouster ros github.
For the ouster attachment, the following package has to be installed in the current workspace. The following tutorial can be followed or the provided description.
Note
This tutorial is to only be followed if the ouster software is not already pre-installed.
Install dependencies:
sudo apt install build-essential cmake libglfw3-dev libglew-dev libeigen3-dev \
     libjsoncpp-dev libtclap-dev
Create a new folder in your catkin workspace named
utils:
cd ~/catkin_ws/
mkdir utils
cd utils
Clone the repository into
utils:
git clone https://github.com/ouster-lidar/ouster_example.git
Go into
ouster_exampleand make a folder calledbuildand go inside of the build folder:
cd ouster_example
mkdir build
cd build
Build the
ouster_examplefrom inside the build folder; be sure to give the absolute path to your ouster_example:
cmake -DCMAKE_BUILD_TYPE=Release <path to ouster_example>
make
Note: The path should look something like this ``/home/development/user/catkin_ws/utils/ouster_example``
Connect the ouster with an ethernet cable, and follow the instructions provided in the software user manual chapter 2.
It may take 5-10 mins for it to be detected.
Next navigate to the
utilsand in there open a terminal and run:
chmod +x set_static_ip.py
python3 set_static_ip.py
Then make open up your ethernet connection that is in the settings and add a new connection. Give your desired name and then navigate to the
IPv4tab. In it change the connection toManual. In theAddressess, give the address as192.168.123.2and the net mask as255.255.255.0, and save. Then connect to this ip.
Verify that the computer is receiving data from ouster via:
./ouster_client_example 192.168.123.1 ''
Install ros dependencies again via:
sudo apt install ros-melodic-ros-core ros-melodic-pcl-ros \
     ros-melodic-tf2-geometry-msgs ros-melodic-rviz
Source devel or restart terminal and navigate to the
third_partypackage and enter the folder. Once there open up the terminal and create a virtual link to the outser_example from utils via:
ln -s <path to ouster_example>/ouster_example/ ./
Finally, go into
catkin_wsand once again build the package:
catkin build
source devel/setup.bash
Verify installation via
roslaunch ouster_ros ouster.launch sensor_hostname:=192.168.123.2 metadata:=/home/development/ouster_metadata/ouster_meta.json viz:=true
Be sure to change the path to your home directory accordingly.
ZED2 Installation

This procedure requires that the Rovo has access to internet for initial installation if not done already.
Requirements
Zed Camera
Internet connection
Procedure
Verify CUDA 10.2 is installed in the Nvidia Xavier Tegra board.
nvcc -V
If not installed follow:
wget https://developer.download.nvidia.com/compute/cuda/repos/ubuntu1804/x86_64/cuda-ubuntu1804.pinsudo mv cuda-ubuntu1804.pin /etc/apt/preferences.d/cuda-repository-pin-600wget https://developer.download.nvidia.com/compute/cuda/11.6.0/local_installers/cuda-repo-ubuntu1804-11-6-local_11.6.0-510.39.01-1_amd64.debsudo dpkg -i cuda-repo-ubuntu1804-11-6-local_11.6.0-510.39.01-1_amd64.debsudo apt-key add /var/cuda-repo-ubuntu1804-11-6-local/7fa2af80.pubsudo apt-get updatesudo apt-get -y install cuda
Install from the provided QRE package, alternatively you may get the latest version and install from ZED SDK
Make sure the Ubuntu version is the 18.04, the CUDA is 10.2, and the Nvidia Xavier SDK is selected for your download
Build the provided ZED ROS packages.
catkin build
Verify installation by running
roslaunch zed_wrapper zed2.launchroslaunch zed_display_rviz display_zed2.launch
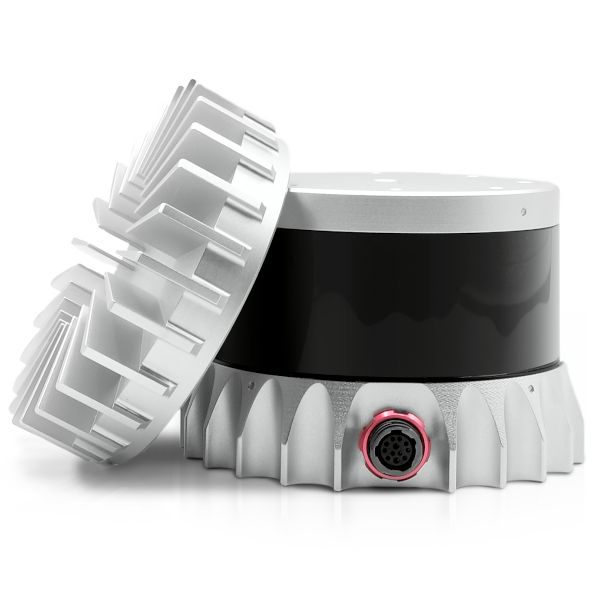
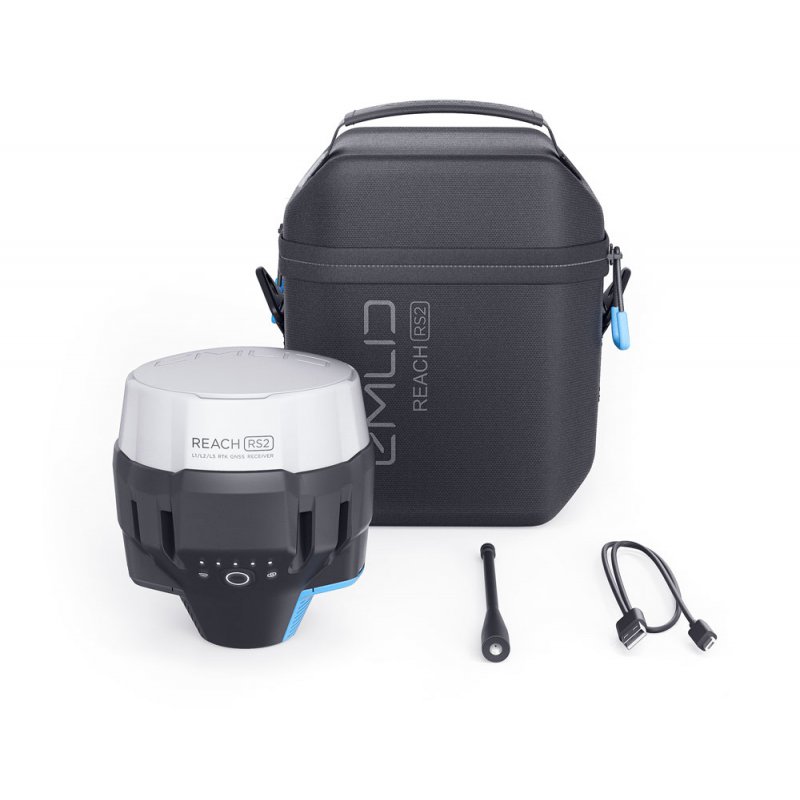
Emlid REACH RS2
Data Sheets
Documentations
Setup
The first recommended augment is the Emlid Reach RS2 GPS for the outdoor waypoint navigation. Following is the guide for use and setup for the Emlid GPS.
Important
Please note that the Emlid Reach RS2 works on 2.4GHz band when connecting to a WiFi network. Position of GPS relative to the ground severely effects accuracy and connectivity.
Requirements
EMLID REACH RS2
Internet connection
Procedure
Connect to the Emlid via it’s WiFi hotspot.
SSID: Reach
Password: emlidreach
Install the ReachView 3 app on the playstore.
Setup Reach on the available connections once available.
Provide internet connection to the emlid.
Reconnect to it in the app.
Rename and setup configuration
Emlid RS2 USB Connection
Add a new udev file to /etc/udev/rules.d, for example
sudo touch 45_emlid.rulesIn that udev file add, the following:
SUBSYSTEM=="net", ACTION=="add", ATTR{address}=="3032:0013", NAME="emlid0"
Note
Change the address to your EMLID ID address. The ID can be found via lsusb. Normally not required with default emlid configuration.
Reload the udev rules via:
sudo udevadm control --reload-rules && sudo udevadm trigger
Setup a static connection in you PC in e.g. 192.168.2.1 and now you should be able to access the Emlid in 192.168.2.15
Attention
The GPS data is sent over via NMEA messages, so please ensure to go to the Emlid via app or
browser (192.168.2.15) and ensure that the one of the position output is set to tcp with
the stream coming on NMEA.
Enabling Precision Mode
Goto the provided Emlid’s Reach panel for configuring high precision mode.
Get access to NTRIP connection which can be done by contacting your nearest receivers station.
In the Emlid Reach Panel go to the RTK settings.
Set position mode to kinematic.
Set elevation mask angle to 15 degrees.
Set SNR mask to 35.
Select all GNSS options.
Set update rate at 5hz.
Goto the correction input tab in the Reach panel and select NTRIP.
Fill in the information provided by your receiving station i.e.
ip address
port
username
password
mount point (Usually detected automatically)
Select send NMEA GGA messages to enable correction.
In base mode in you can set the base coordinated data accumulation time to 1 minute.
Verify in the status of the reach panel whether green as well as grey bars appear, indicating successful correction.
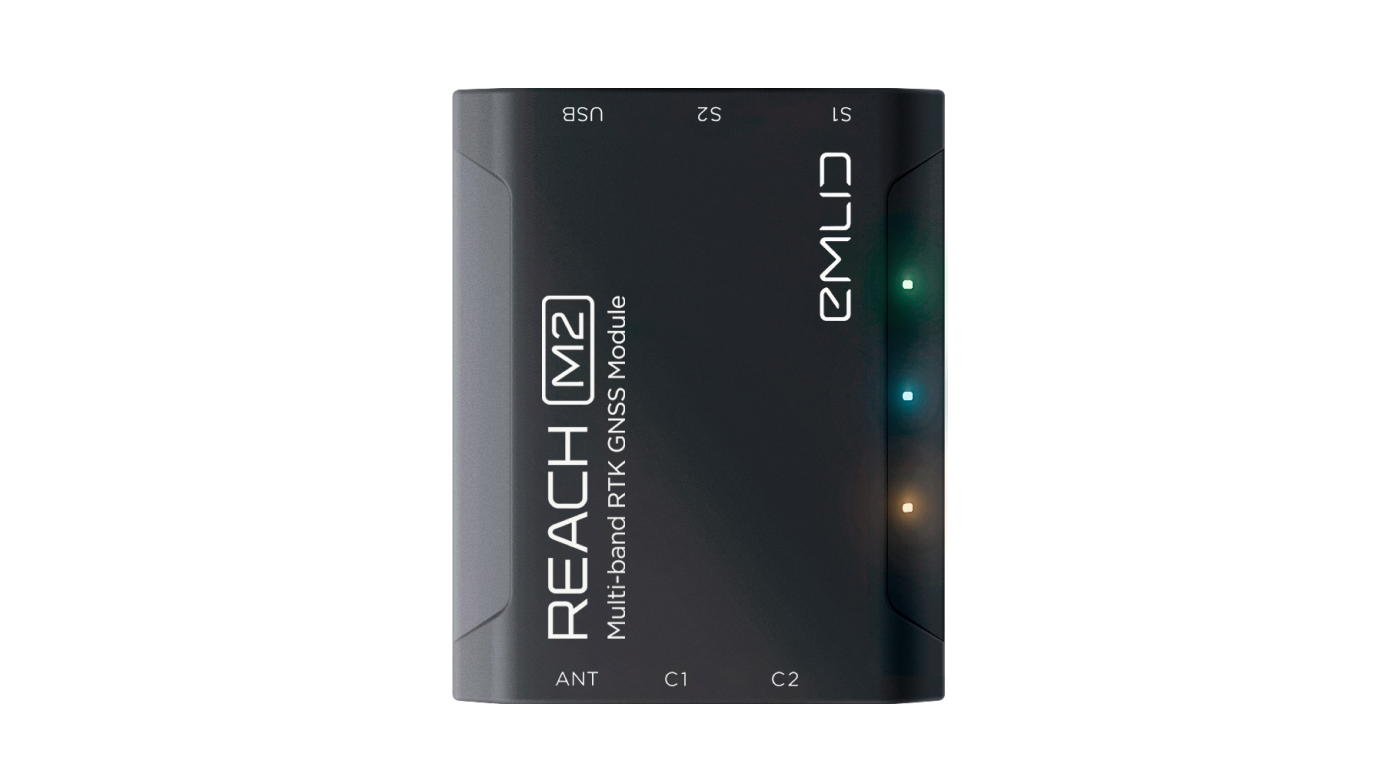
Emlid REACH M2
Important
Please note that the Emlid Reach M2 works on 2.4GHz band when connecting to a WiFi network.
Emlid M2 USB Connection
Add a new udev file to /etc/udev/rules.d, for example
sudo touch 45_emlid.rulesIn that udev file add, the following:
SUBSYSTEM=="net", ACTION=="add", ATTR{address}=="3032:0013", NAME="emlid0"
Note
Change the address to your EMLID ID address. The ID can be found via lsusb. Normally not required with default emlid configuration.
Reload the udev rules via:
sudo udevadm control --reload-rules && sudo udevadm trigger
Setup a static connection in you PC in e.g. 192.168.2.1 and now you should be able to access the Emlid in 192.168.2.15
Attention
The GPS data is sent over via NMEA messages, so please ensure to go to the Emlid via app or
browser (192.168.2.15) and ensure that the one of the position output is set to tcp with
the stream coming on NMEA.
Setting Up Base Station
Adding REACH RS2/M2 ROS Driver
All prior steps are required. Clone the following git repo, to your catkin workspace and build it:
cd catkin_ws/src
git clone https://github.com/enwaytech/reach_rs_ros_driver
catkin build
Add to your launch file:
<node pkg="reach_rs_driver" type="reach_rs_driver_node" name="reach_rs_driver_node">
     <param name="reach_rs_host_or_ip" value="{emlid ip address}"/>
     <param name="reach_rs_port" value="9001"/>
</node>
Goto the position output tab in the reach panel and change the output to TCP along with message type being NMEA.